Install Door Casing
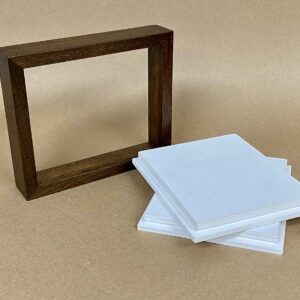
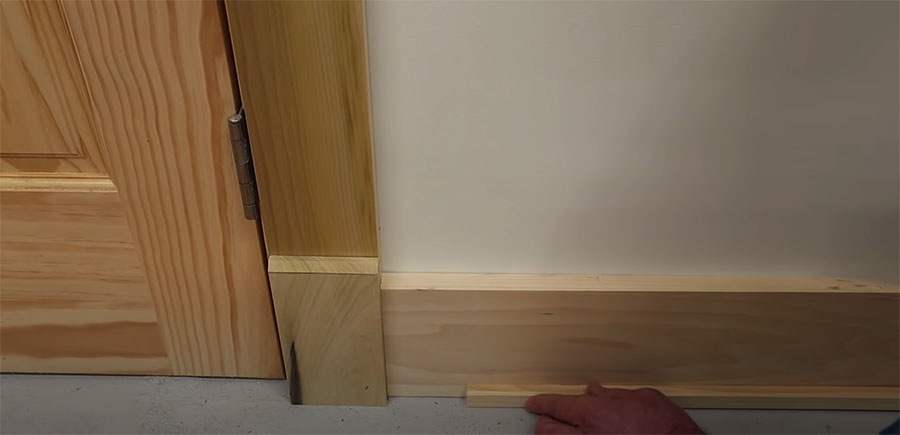
When deciding on a molding design for your home one of the most important things to think about is how the molding will end. With this classic design, the baseboard molding will end into the casing in the shoe molding will end into the foot. Thanks for watching and I hope you found this video helpful. You can do the whole job yourself using a router and a table saw. I used inexpensive 1×4 Poplar. It has a nice, tight grain and is great for painting.
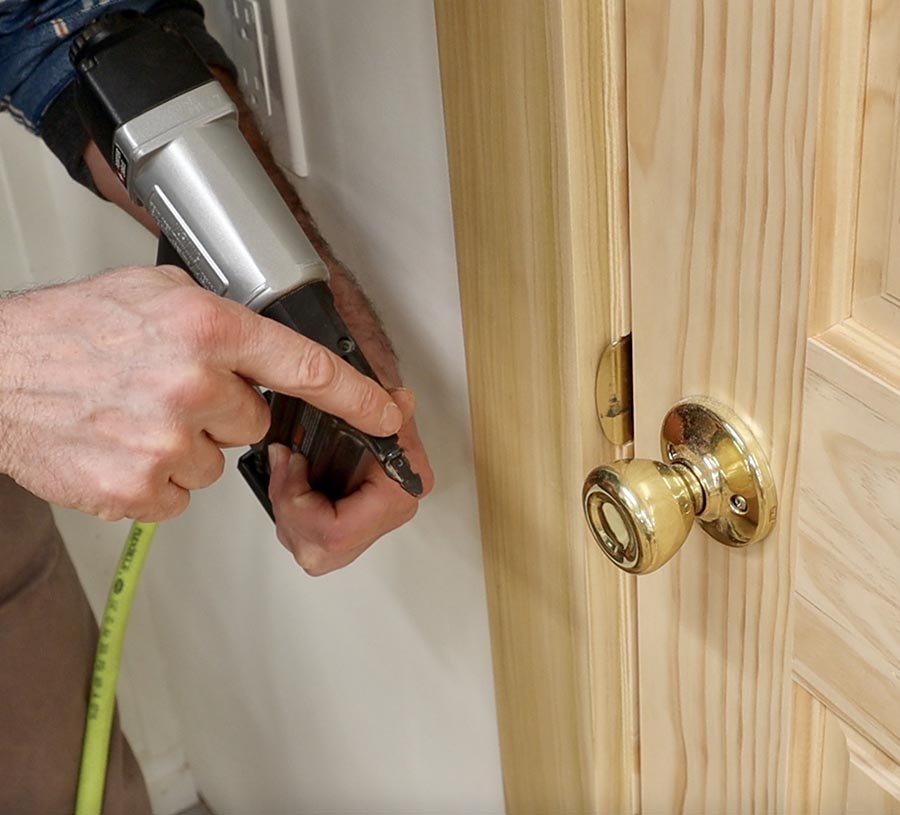
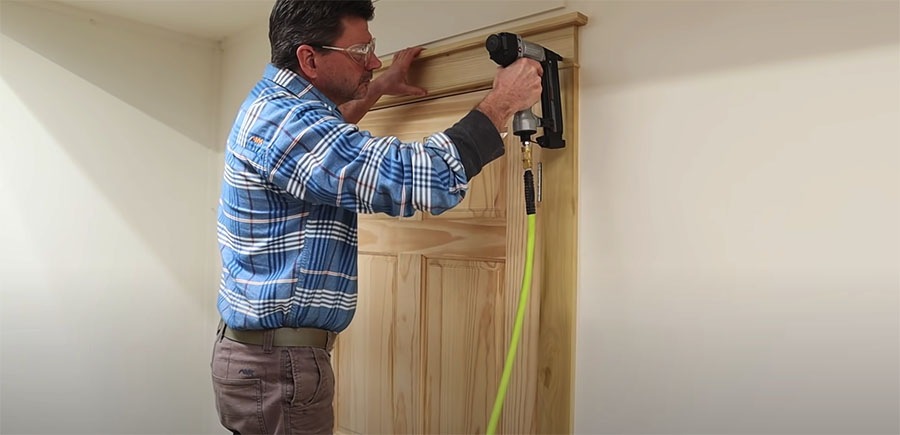
Install Door Casing Air Nailer
How to Install Door Molding
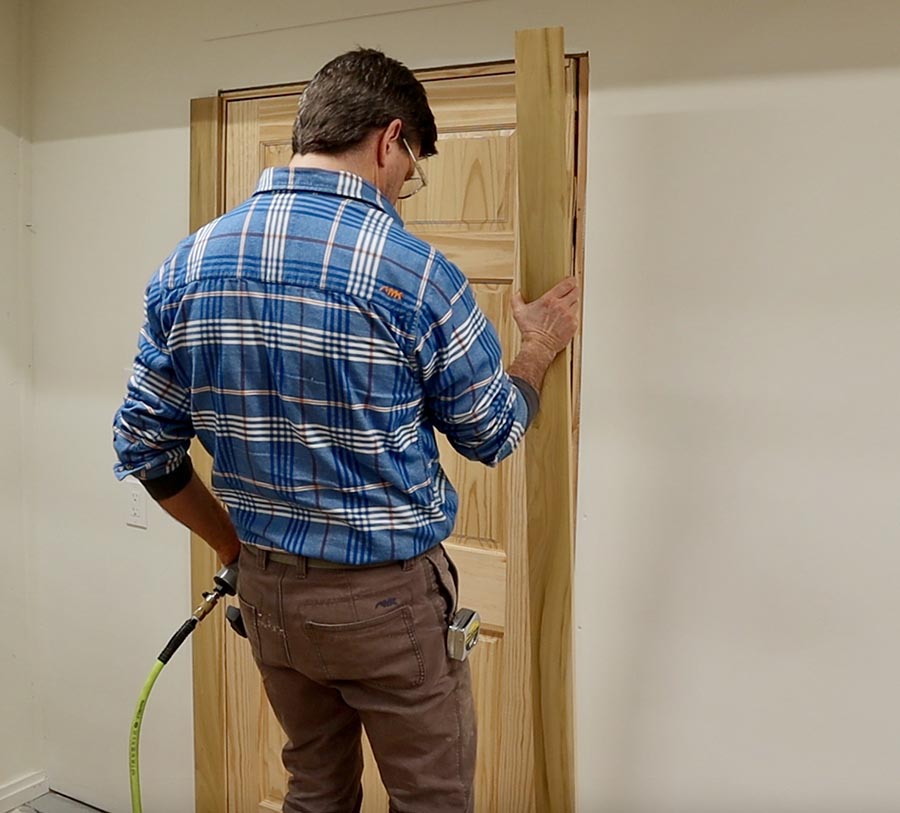
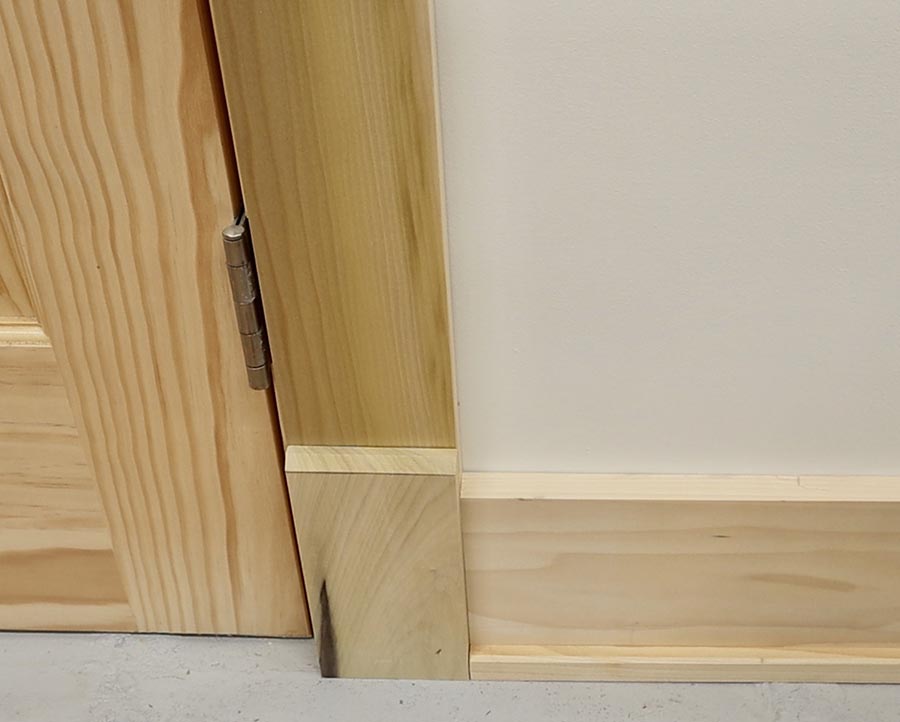
The first step is to establish the reveal, the portion of the door frame that is visible after the casing is installed. I make a quick mitered trim piece for the head of the frame and set it all in place with the nail gun. Once the header and frame is done, I prep the bottom of the door frame to butt flush with the baseboard and shoe moulding using a chamfer bit.
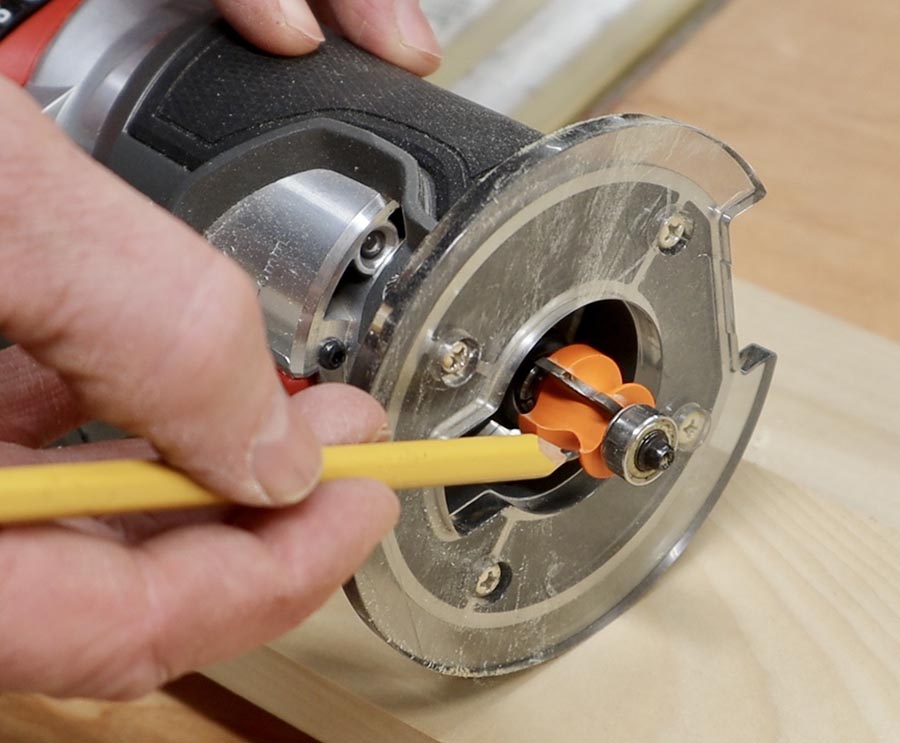
Install Door Casing Chamfer Bit Router
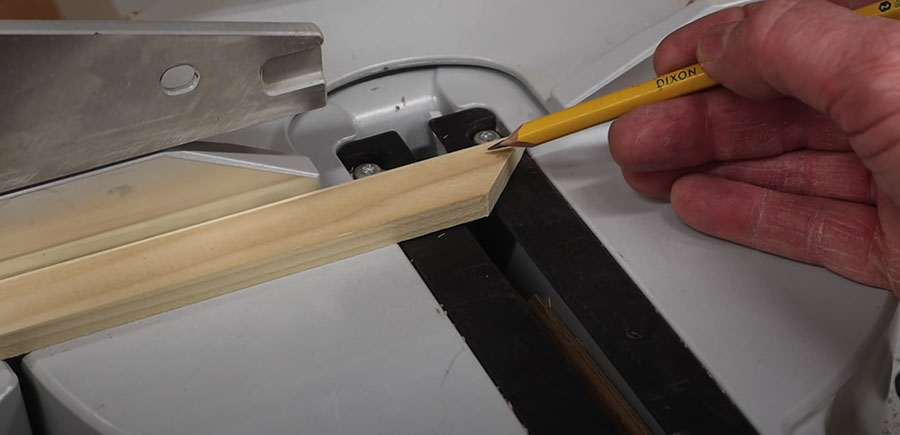
Make Wood Molding
This is the last project for the shop remodel and I’m really happy with the way it came out. It’s been a 3 month process of giving the shop a major facelift, including a new SawStop table saw and dust collection system as well as repurposing the shed as a finishing room. The new and improved shop is ready for some fresh projects in 2021.
How to Install Door Casing
Install Door Casing Trim
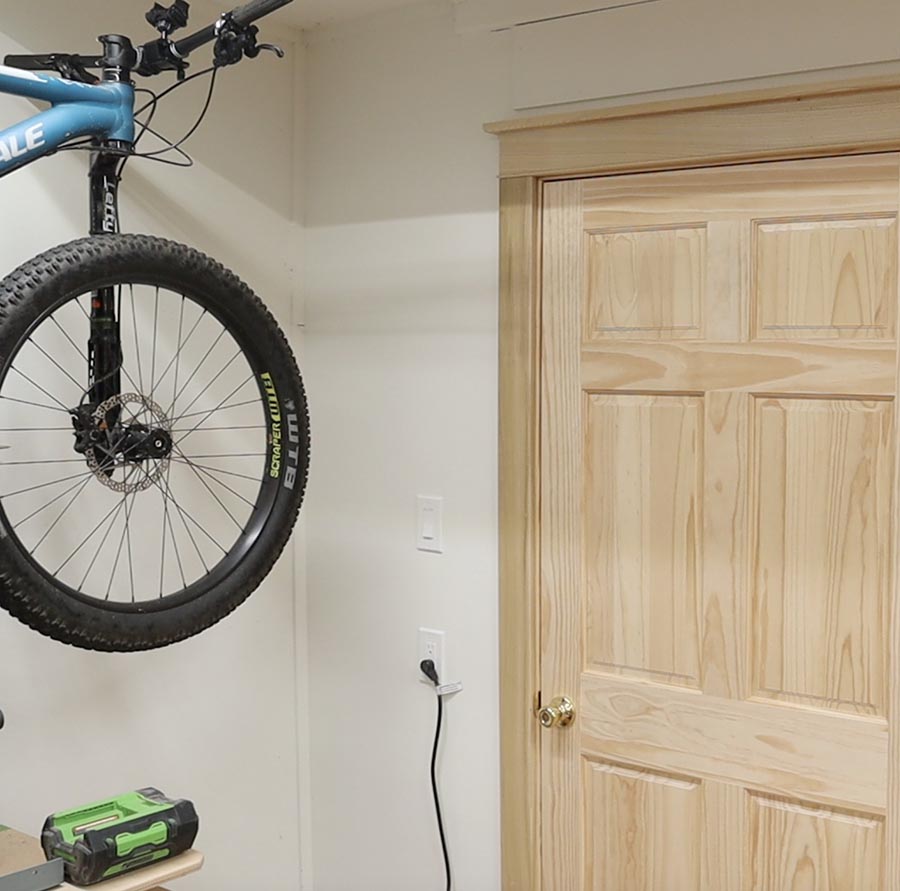
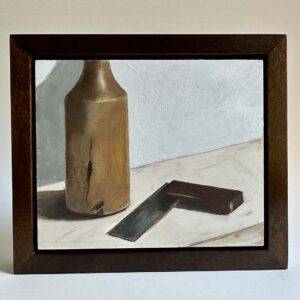
Finished Door Casing
Thanks for coming along for the ride with me and tune in for new projects in the new shop!