Here’s the how-to video and step-by-step instructions showing you how to get perfect tight-fitting miters every time.
Step 1: Create a 45 degree angle on the end of the bead molding you’re using and mark that with a pencil.
Step 2: Line up the pencil mark on the molding with the Kerf (slit) on the sacrificial fence and make the cut on the miter saw. (Check out the video at the bottom of this post on making the sacrificial fence.) The fence allows for accurate cuts and is a huge time saver when making miter cuts. The initial miter cut should always be just the slightest bit “heavy”.
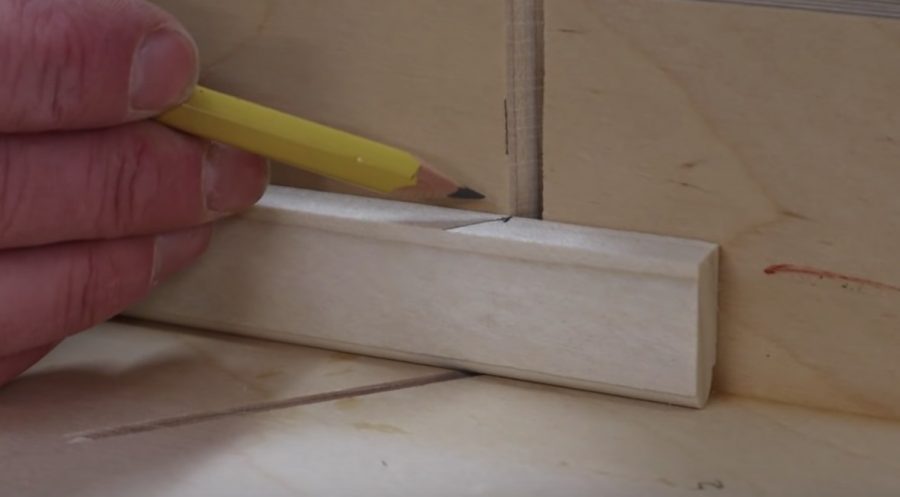
Step 3 – PRO TIP: To shave just the slightest bit off of the cut to make it fit perfectly, first mark the angle with a pencil. Then, drop the saw blade down and push the molding against the end of the blade without adding too much pressure.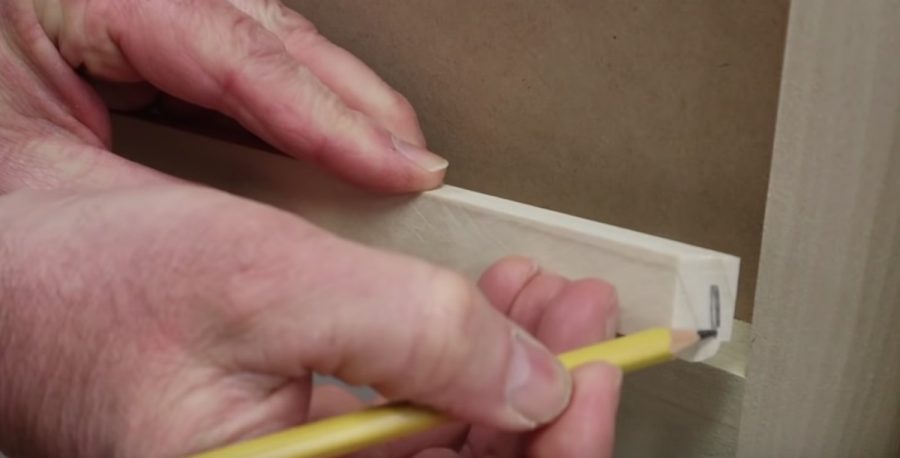
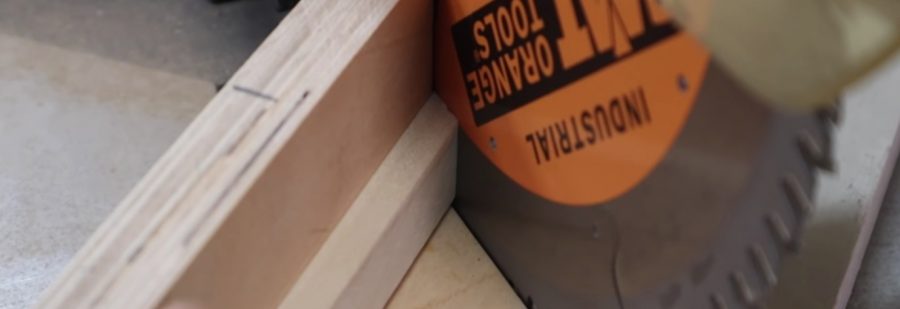
Step 4: Raise the blade up and turn the saw on to make the down-cut. Because the teeth of the saw blade are actually slightly thicker than the blade itself, you’ll shave the excess with the pencil mark on the way down.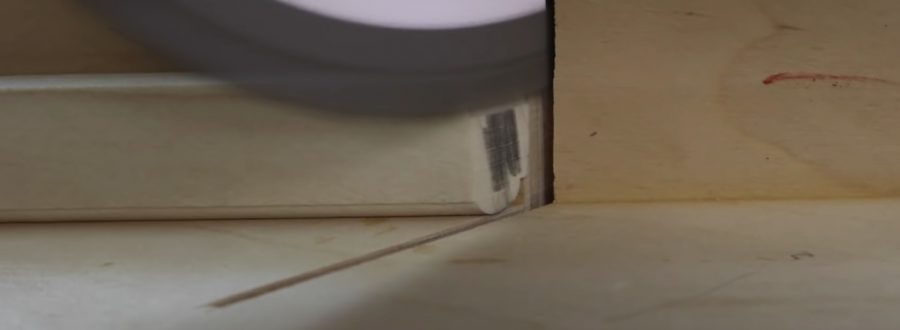
Step 5: Finally, tack the molding in place with a pin nailer to create perfectly tight miters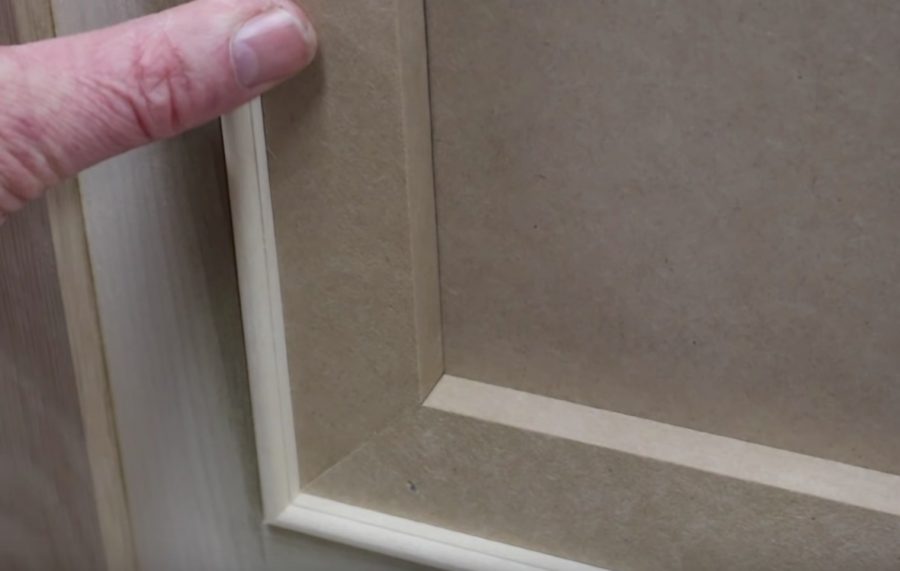
How To Make a Sacrificial Fence for Perfect Miter Cuts