In this video, I build the base cabinets for the kitchen pantry project and attach the drawer fronts, hardware and install the cabinets. I also show you how to scribe the cabinets so they are flush with the wall and scribe the countertop. Follow along with the video to learn some helpful cabinet making tips and check out the photos and descriptions from this build below along with video # 1 & # 2 of the kitchen pantry project where I build and install the upper cabinets and install the drawers with drawer pulls.
Thanks to my sponsors Sashco and Rockler
- Sashco’s Big Stretch Caulking…Won’t Crack…It Just Stretches
- Rockler Drawer Hardware – Polished Nickel Hopewell Bar Pull
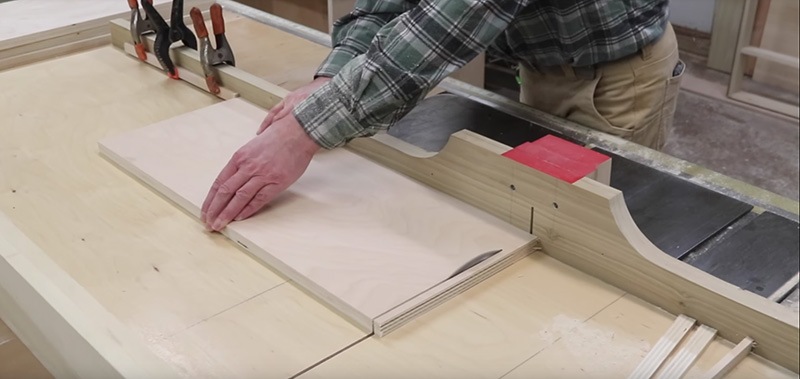
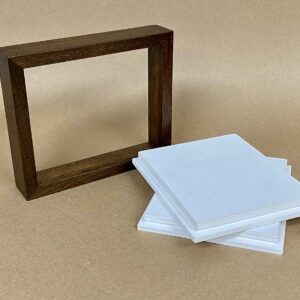
The drawer fronts are made using 3/4″ birch plywood, and I make the fronts a 1/2″ taller than the drawer opening height and a full 1″ wider than the drawer opening width.
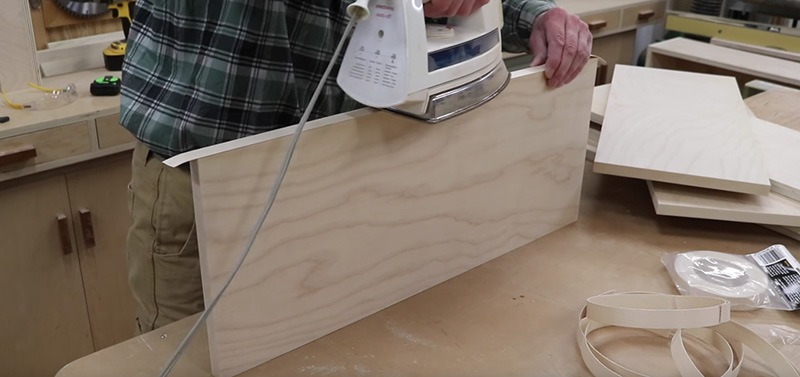
I use iron on edge banding to hide the end grain of the plywood. Then I sand and prime the drawer fronts and drill the holes for the drawer hardware
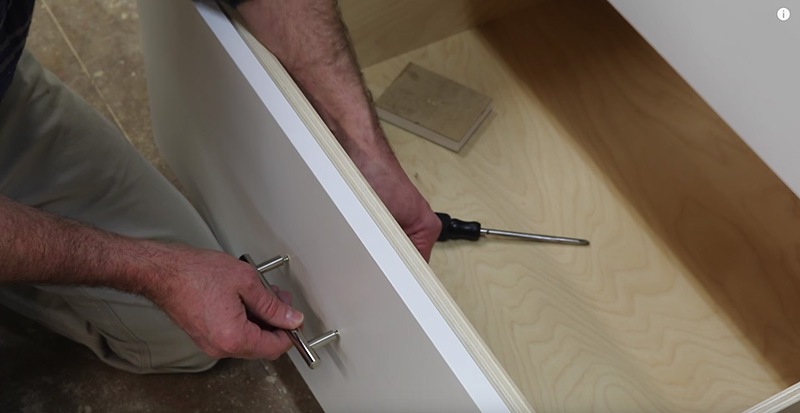
I make a simple jig as a guide for drilling holes for the hardware into the cabinet fronts. To attach the hardware, I drill through the holes that I already drilled for the drawer fronts. I used the 3 3/4″ Polished Nickel Hopewell Bar Pull from Rockler.

Use a 3/4″ plywood spacer between the bottom and second drawer to insure proper spacing. Drop the second drawer front on top of the spacer. Move the drawer front over to the marked lines on the stiles, clamp the drawer front in place using squeeze clamps, and attached with 4 screws from behind. Repeat the process on the top drawer.
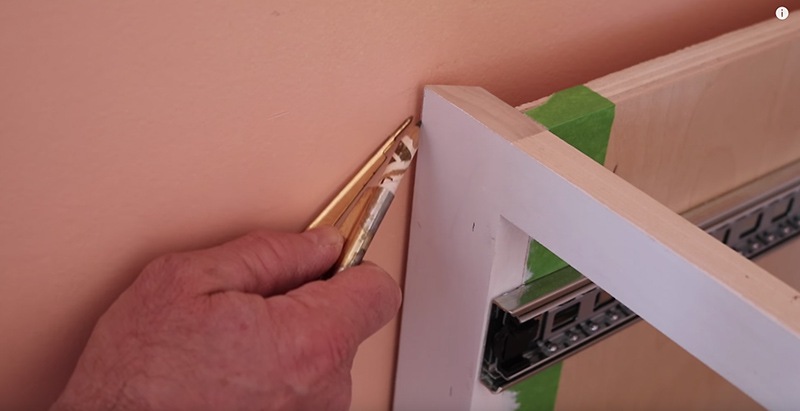
With the cabinets in place on the base, it’s time to fit the cabinets to the wall. It’s not uncommon for the walls to be off-square so I use a drawing compass to draw a line on the side of the cabinet to match the wall contour. I use a jig saw to cut the scribe line and a hand plane to smooth out the edges and fine tune the cut.
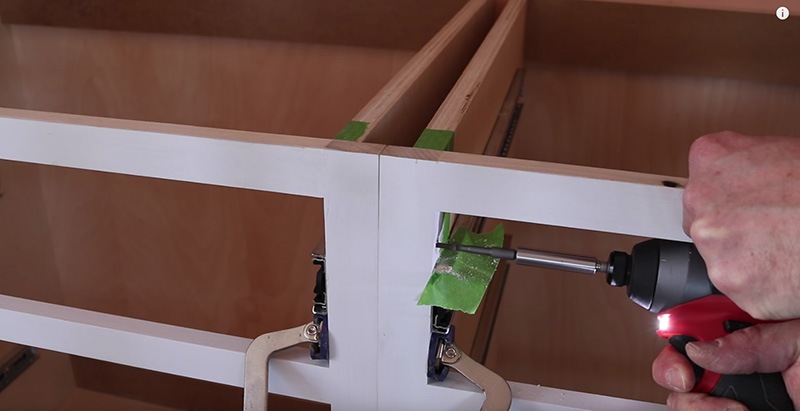
With both cabinets fit in place, I use cabinet clamp to hold the cabinets together and then permanently connect the cabinets together with screws.
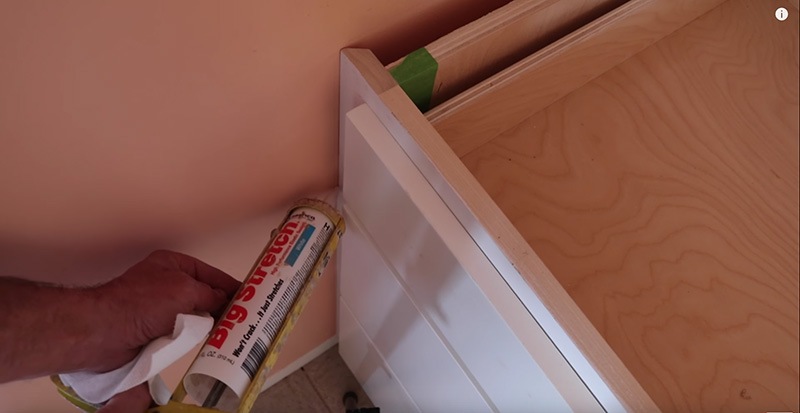
I always like to run a bead of caulking up the seam as a last step to fill any gaps between the cabinet and the wall. I really like Big Stretch Caulk because it adheres really well and doesn’t crack.
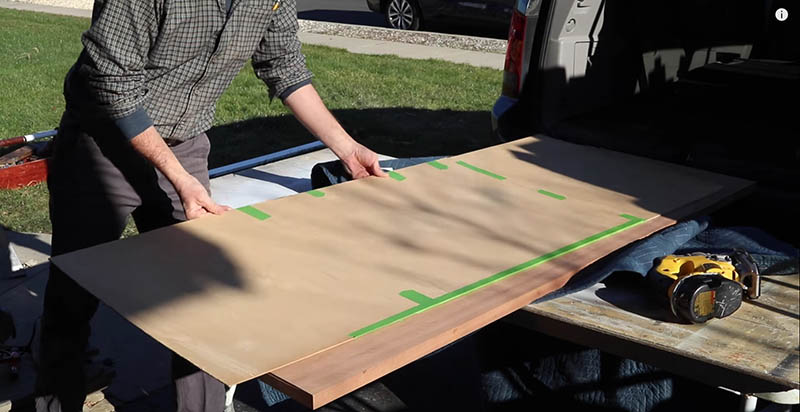
The final step once the base cabinets are installed is to scribe the countertop. To fit the countertop, I make a template using 1/4″ plywood and a drawing compass. I then trace the pattern onto the countertop and make the cut with a jigsaw.
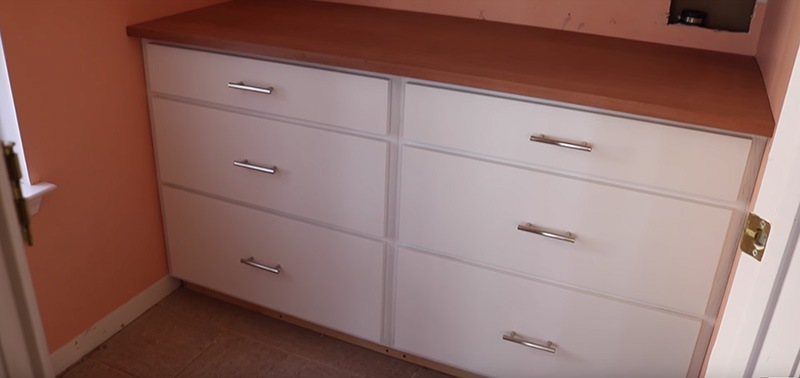
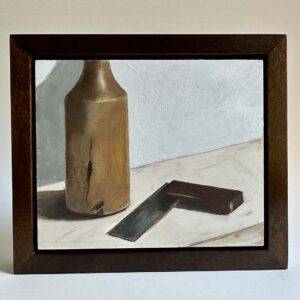
Here are the finished base cabinets!
Other Project Videos in Kitchen Pantry Series:
Video #1: How to Build & Install Built-In Kitchen Pantry Cabinets
Video #2: How to Build Kitchen Cabinets & Install Drawer Slides: