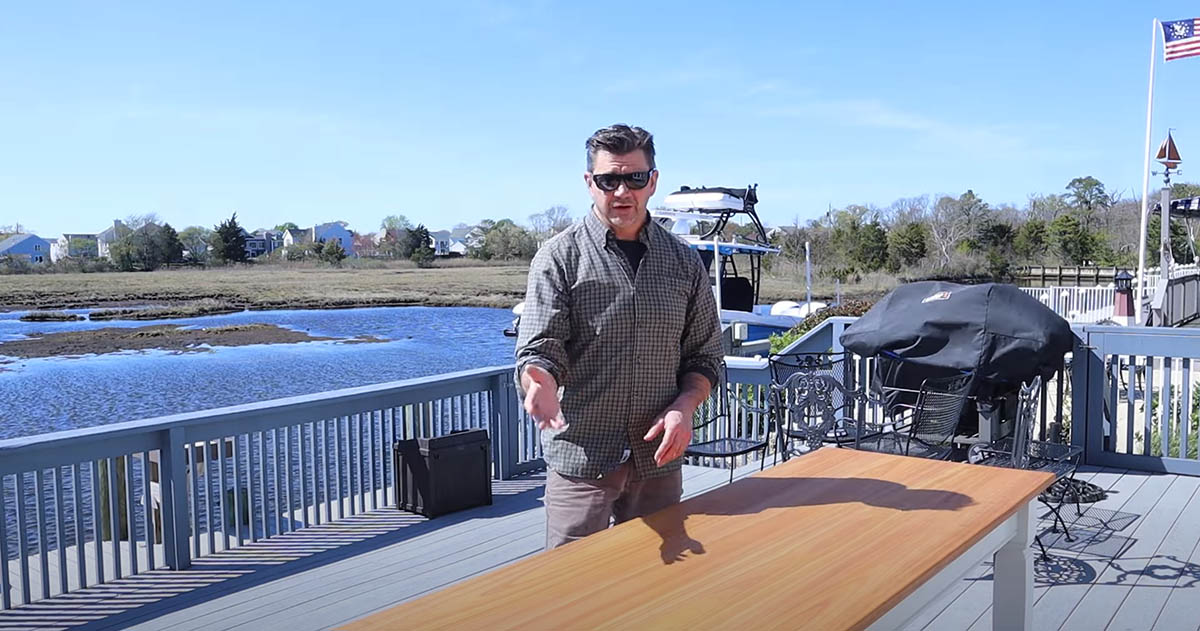
The big mistake I made with this project is I used Titebond two instead of Titebond three. The new Tabletop will be made of Red Grandis wood and I’m going the extra mile using Dominos and Epoxy. A solid wood tabletop that lives outside 24 seven is a lot to ask of any wood, glue, or finish. I’ll take this table back to the shop and begin replacing the faded top and add a few layers of paint to the base to refresh it for the season.
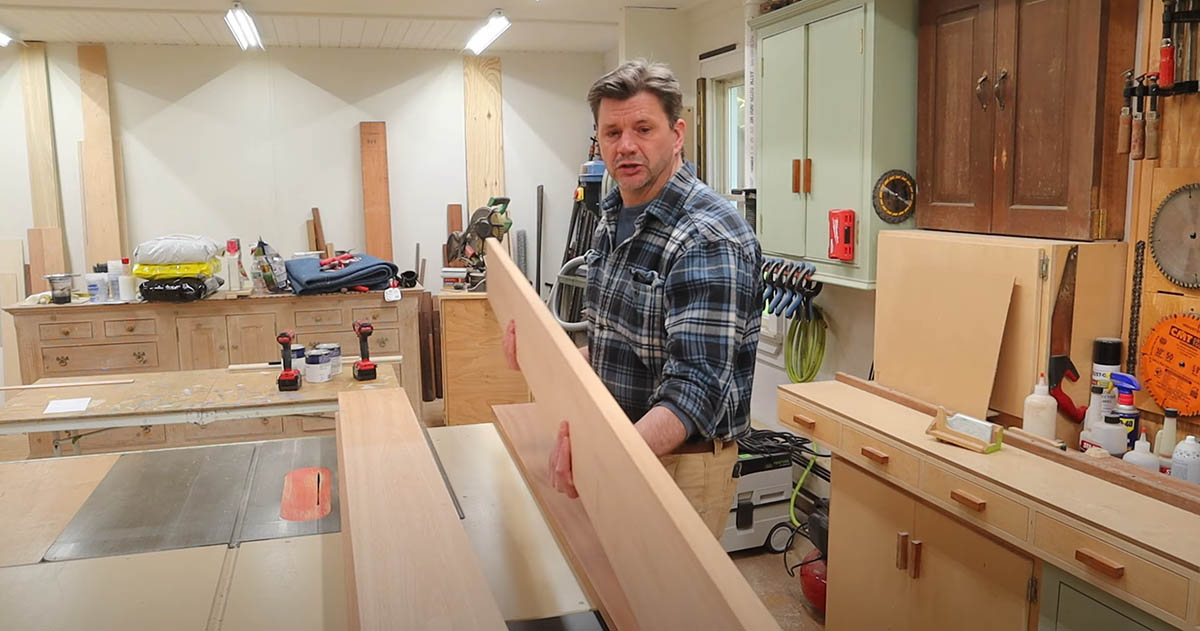
I wanted to run one of the table top boards through the planer just to see what it looks like. Just beneath the surface of these boards, the wood is in good shape, so I can use these boards for another project.
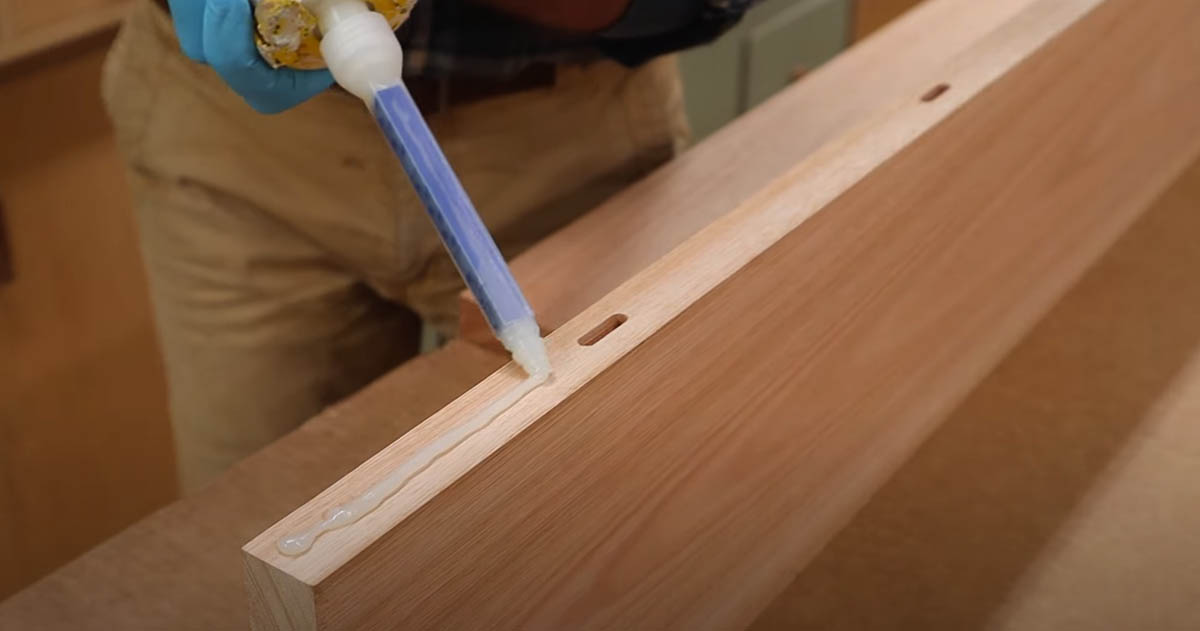
For the new top, I’ll be using Red Grandis and joining the boards using dominoes and epoxy. This is my first time using the domino but I can already see that this tool is going to be very useful on future projects. I line up the boards with alternating grains, which helps keep the top flat over time.
After plunging the domino along the edges, I’ll use epoxy to join the boards, using a putty knife to spread the beads out.
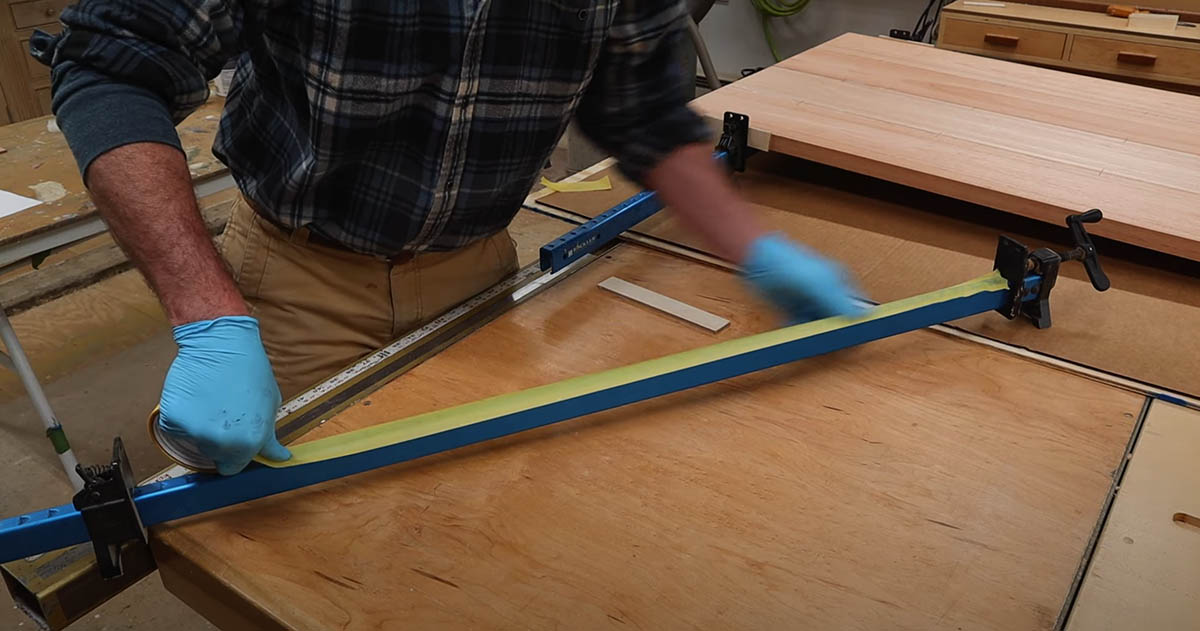
After joining the boards, I use clamps to secure the joints while the epoxy cures.

Covering the clamps with painters tape, will prevent the epoxy squeeze-out on the table top from sticking to the clamps.
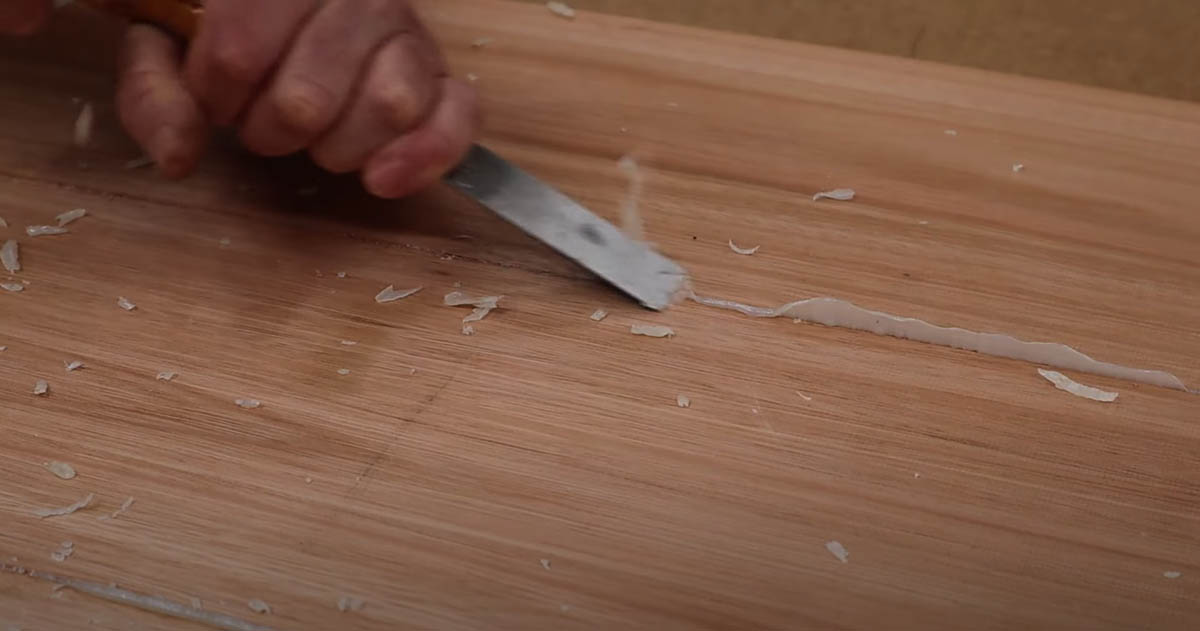
Use a plastic putty knife to remove the squeeze-out epoxy before it has a chance to set up. You should about 1 hour of working time before the epoxy begins to cure.
After scraping the squeeze-out from the bottom of the table and sanding both sides, I can cut the table top to length using my circular saw jig.
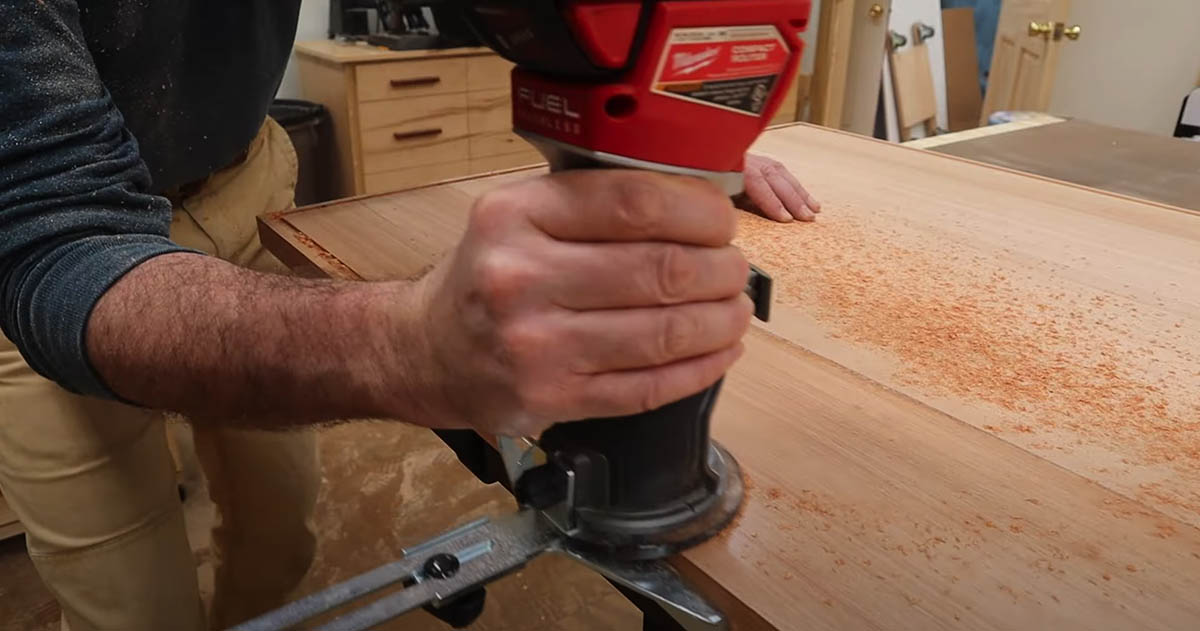
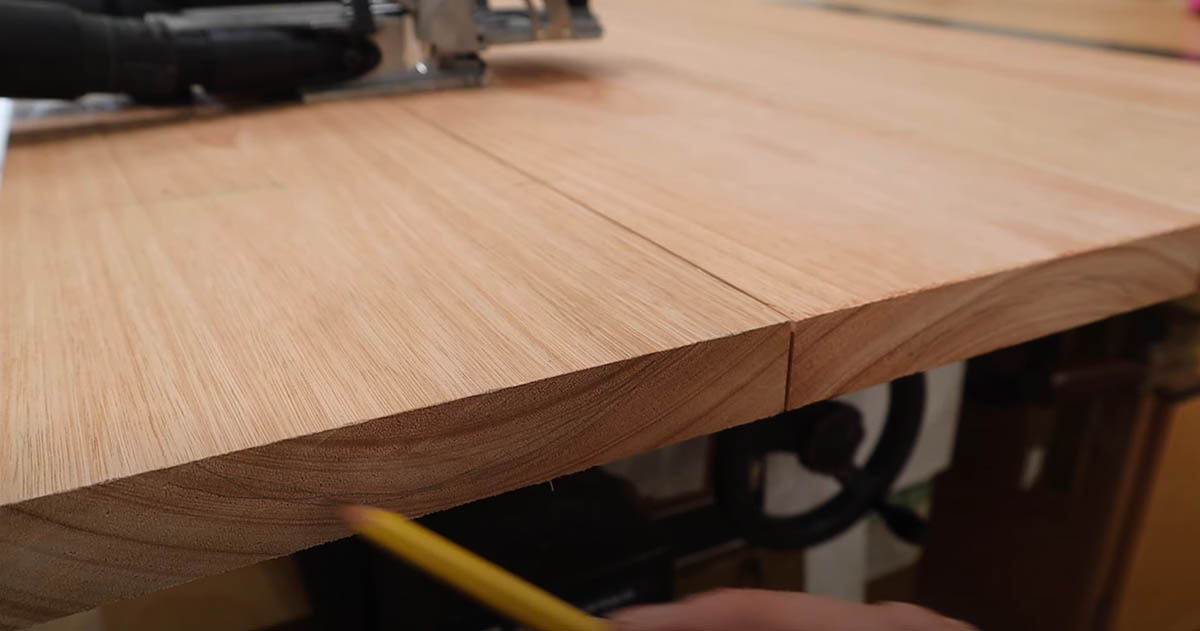
Next, I’ll use a straight bit in the router to cut a drip edge around the bottom of the table, which prevents water from collecting under the table. When the water hits the drip edge, it drops to the ground. Then I’ll use a round-over bit in the router to soften to the top and bottom edge.
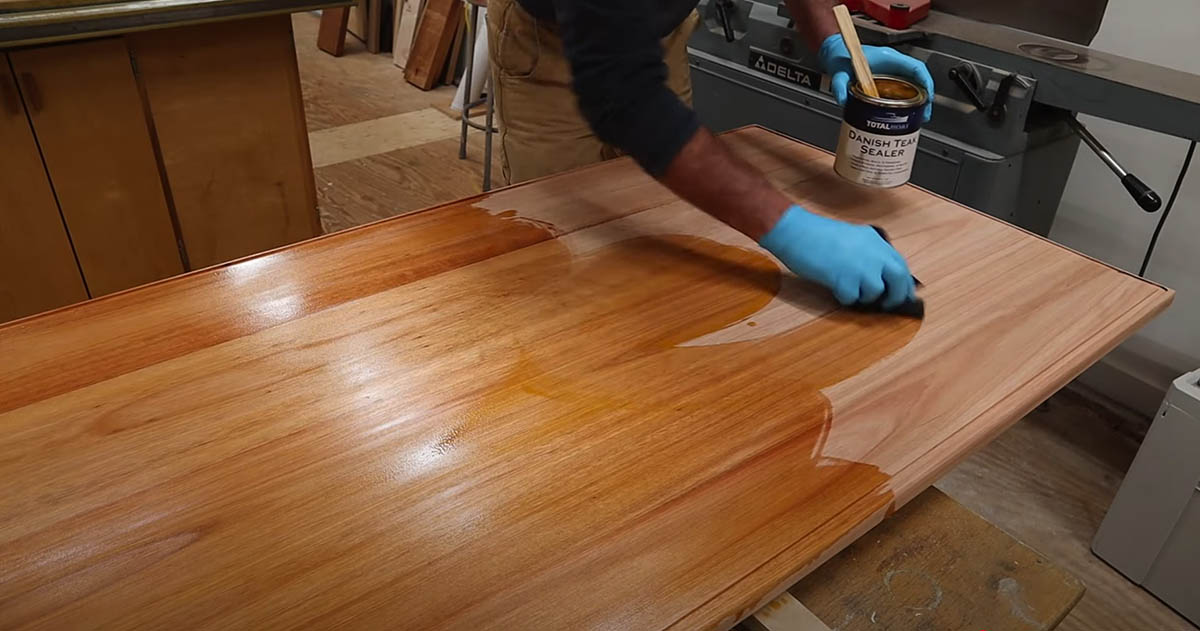
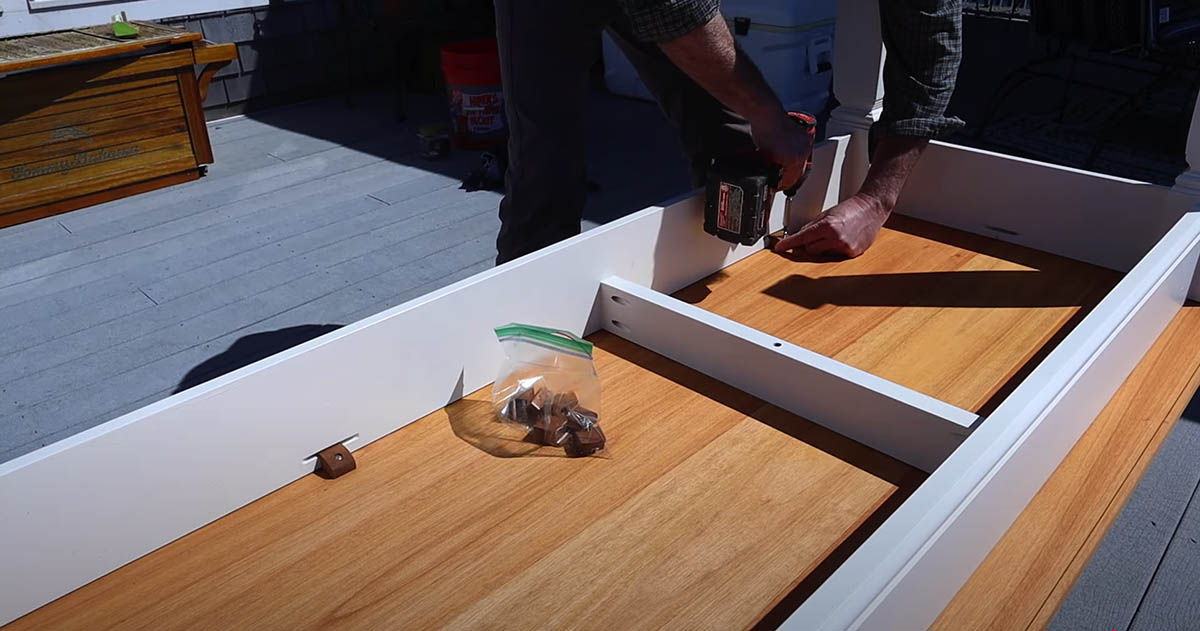
After some finish sanding, I’ll apply 2 coats of Total Boat Danish Teak Sealer, allowing 24 hours in between coats. After the sealer is dry, I reattach the table top to the table base.
I’ll keep you posted on this project and how it holds up on Instagram and post a few pictures in a month or two. Thanks for watching guys, see you next time!