A few weeks ago I winterized the outdoor kitchen. I used my compressor to blow out the waterline and also the drain. I decided to build a simple roof for the cabinet…not so much to protect the cabinet top, but to keep water from collecting in the sink and then freezing. We had a lot of fun cooking on the grill last year and I’m looking forward to more cooking shows this spring. A big thank you to Coyote Outdoor Living for sponsoring the cooking show and be sure to check them out their high quality grills and outdoor kitchen ideas.
Here’s the how-to video and additional pictures from the project.
I cut two, 2 x 4s as the base of the roof…they will rest on pieces of industrial cloth so they don’t scratch the surface of the countertop
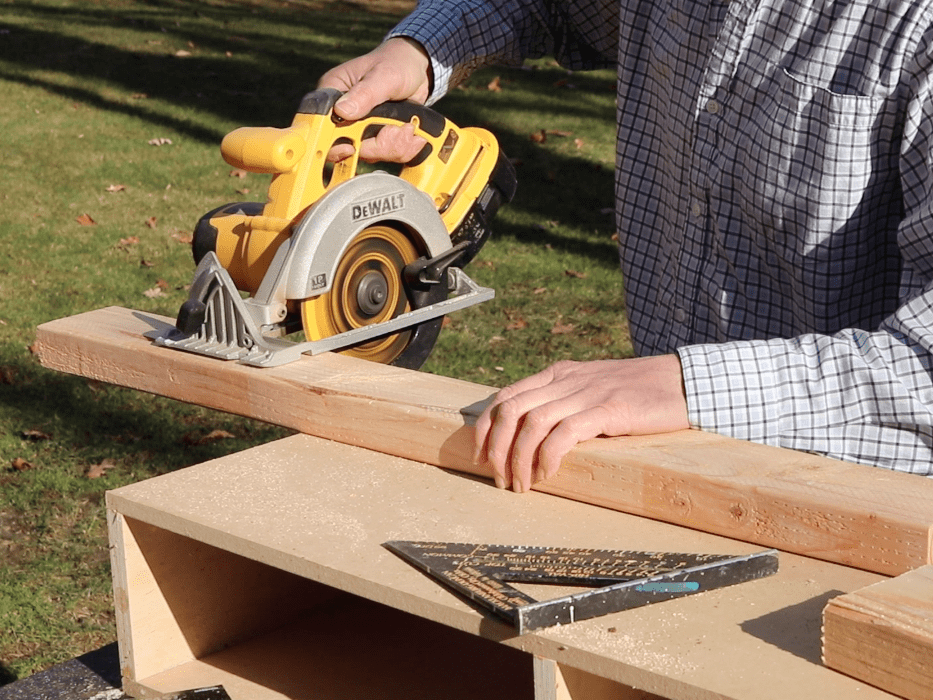
Repurpose old 2 x 6s to create the frame of the protective roof. Position these upright on top of the flat 2 x 4 bases.
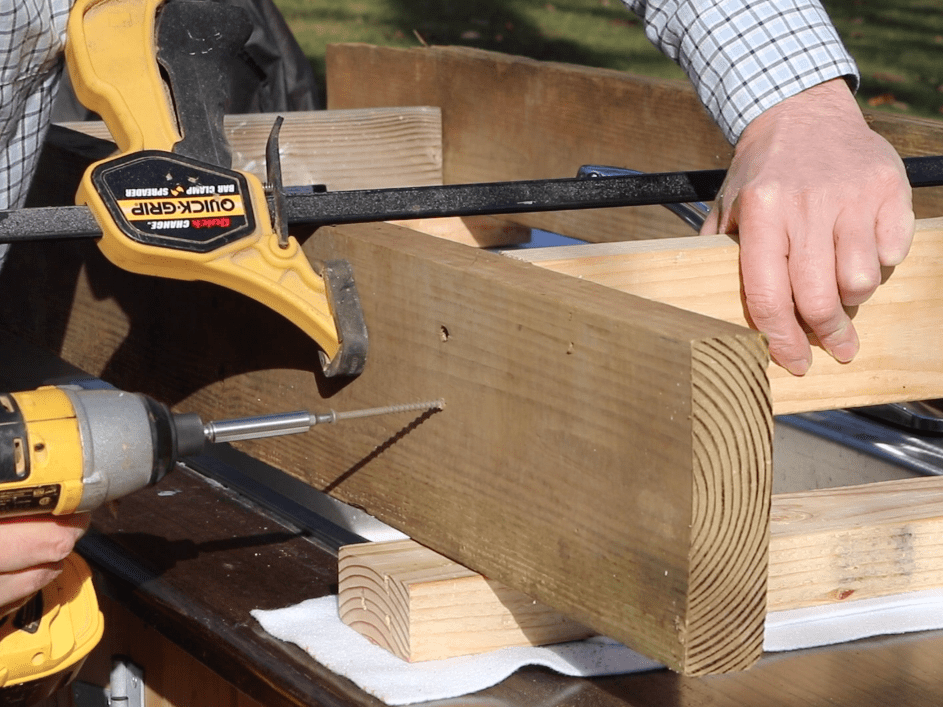
Use a 2 x 4 to connect the two sides of the roof using clamps and wood screws. Create a peak in the roof by laying a 2 x 4 in the center of the bracing and attached with wood screws.
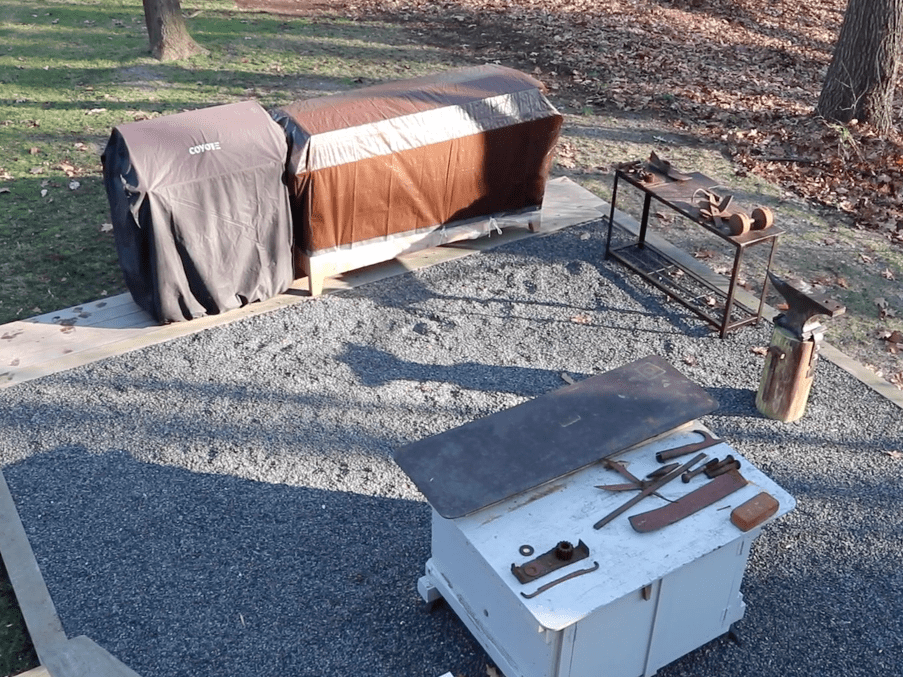
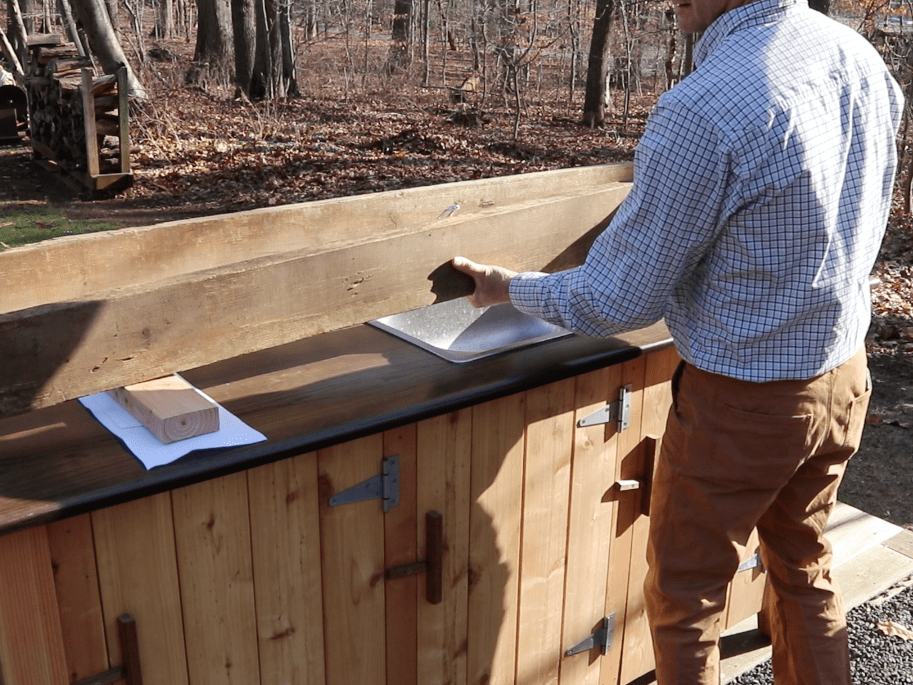
The finished winterized outdoor kitchen area with the roof tarped and secured.