Buy These Plans – $9.00
Hi everyone, I just finished building this modern dresser with white oak veneer, soft-close drawers slides and a solid walnut base. I’m really happy with the way it turned out and in this step-by-step project video, I’ll show you how to build this modern dresser.
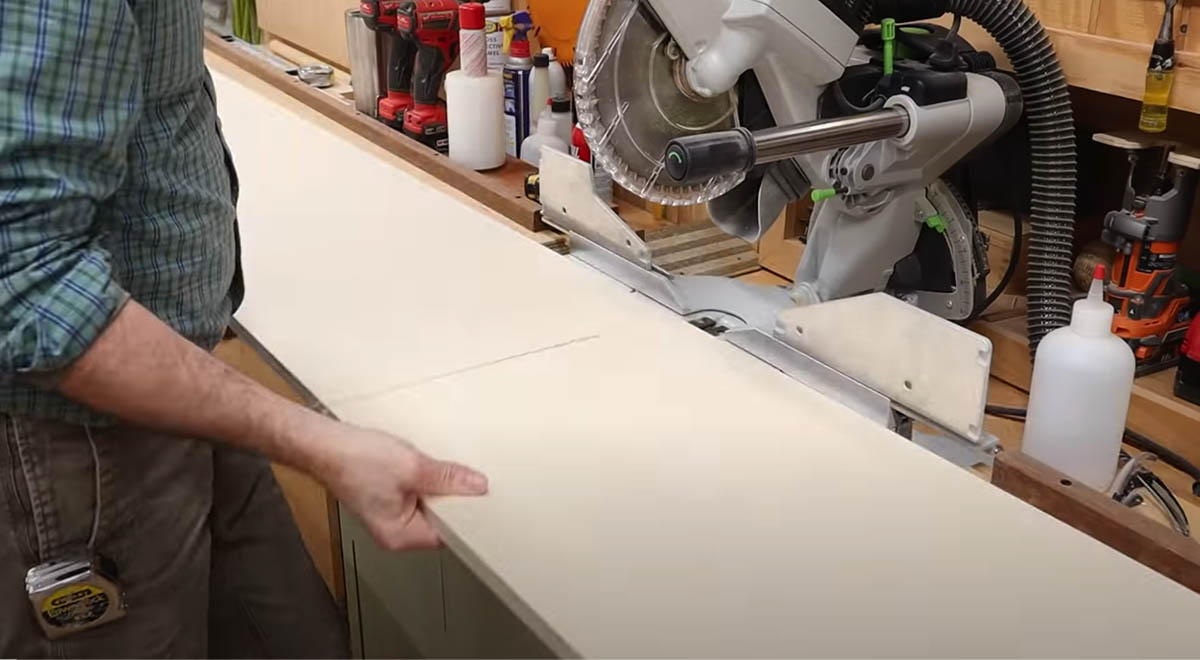
The cabinet is a simple box made of 3/4″ plywood that will sit on a solid walnut base. I’ll start by rough-cutting the parts of the box with the circular saw. Then use the table saw to rip them to width and the mitre saw to cut the parts to rough length. Using a stop block on the cross cut sled, I cut the parts to their final measurements.
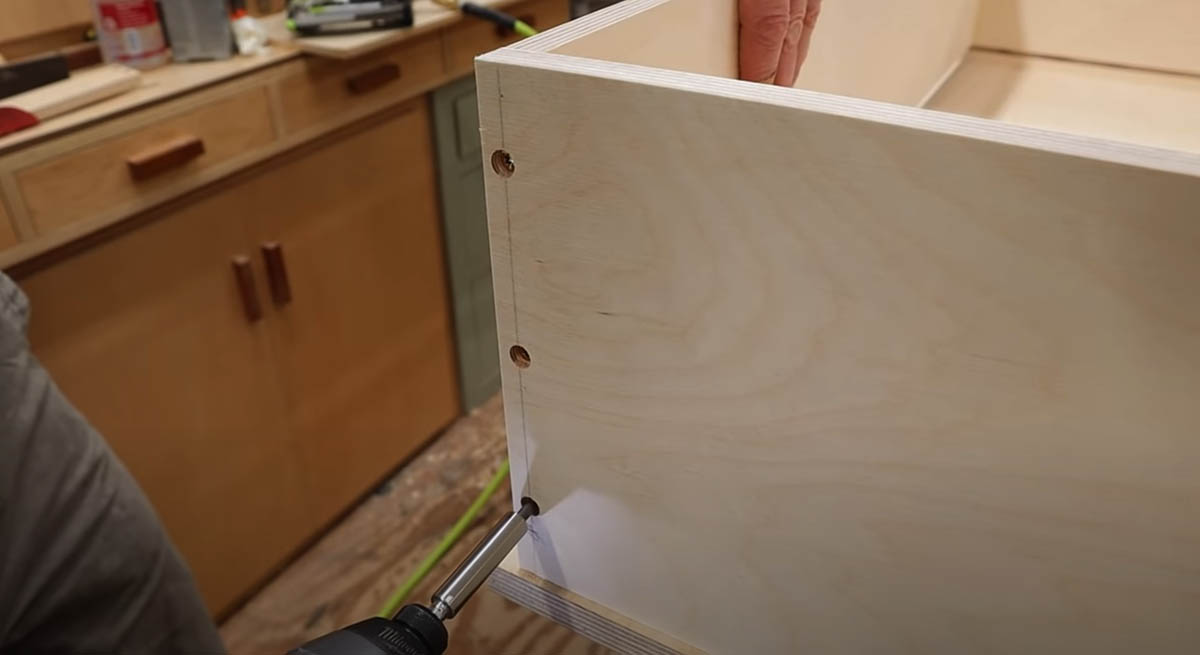
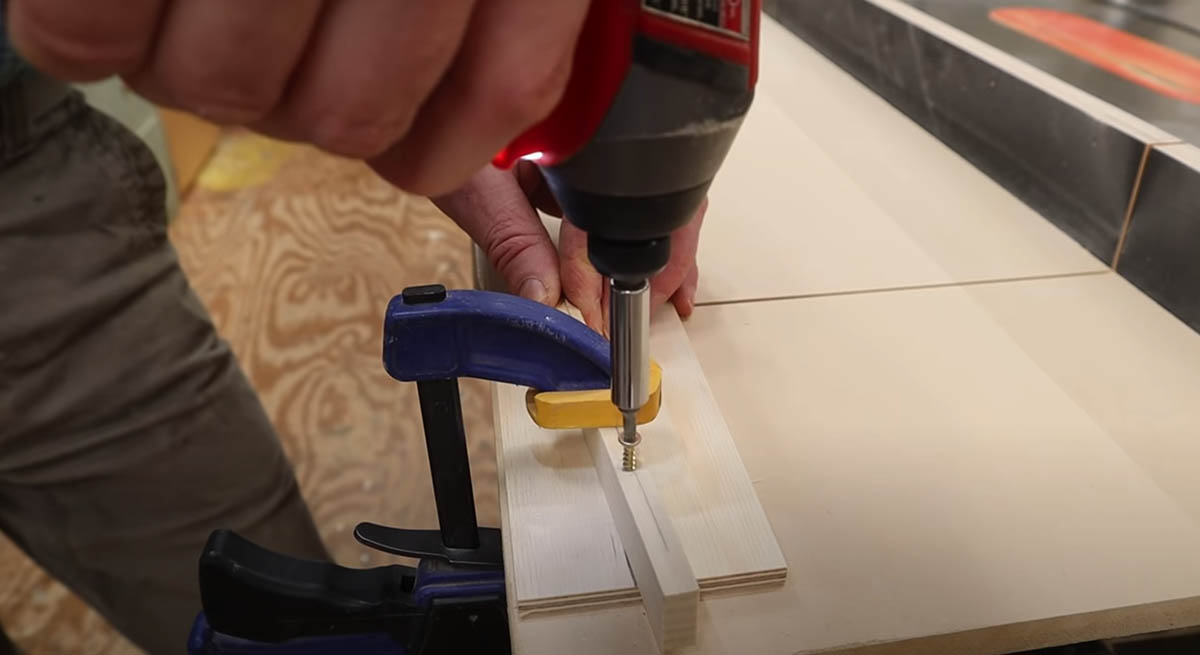
I pre-drill and countersink holes in the sides to attach the sides to the back. Then I’ll drill pilot holes into the back and attach using 1-3/4″ cabinet screws.
With the sides attached to the back, it’s time to move on to the top and bottom. Cutting each piece from the inside measurement of the sides, I cut the pieces to length. With the top and bottom cut to size, I’ll attach them to the sides using wood glue and clamps before pre-drilling countersink holes and drive 1-3/4″ cabinet screws to attach.

After fixing a small issue with squaring up the cabinet, I fill the countersink holes with wood plugs and wood glue. After the glue sets, I’ll trim the excess plug material off flush. I quickly rip some 1/4″ birch plywood blocking to build up the front of the cabinet to a full 1″. The blocking on the inside of the cabinet gives extra material support to cradle the weight of the drawers.
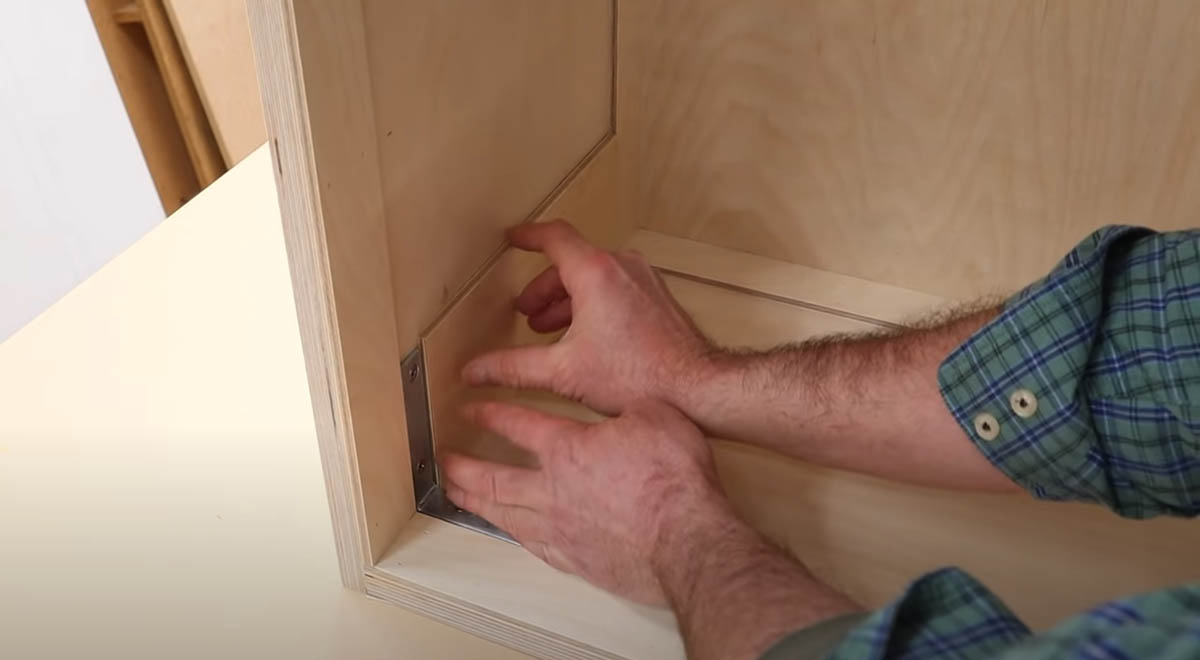
Once the blocking is in place, it’s time to band the edge of the cabinet with quarter-sawn white oak. With the banding cut and to length and mitred, i”ll attach the moulding to the cabinet using glue and 1-1/4″ pin nails.
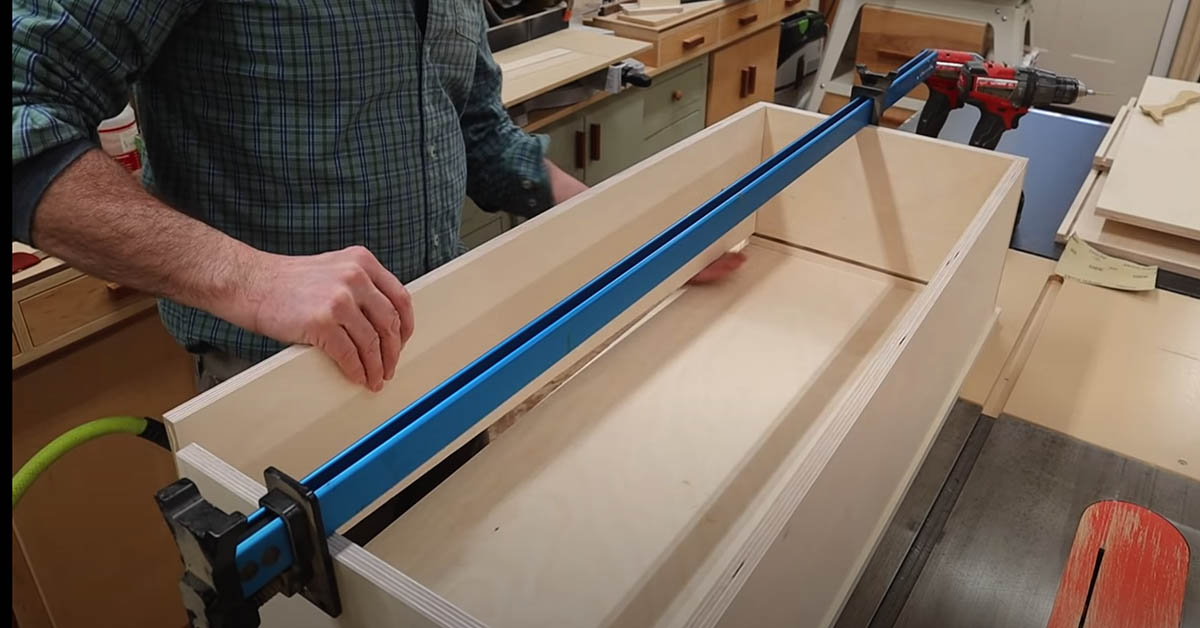
Next, I’ll start on the drawers. I’m using 5/8″ baltic birch plywood. After cutting all the parts to length, I’ll assemble each drawer using the same method used for the outer box. Be sure to cut a groove in the sides and front to accept the drawer bottoms. Repeat this process for all 3 drawers.
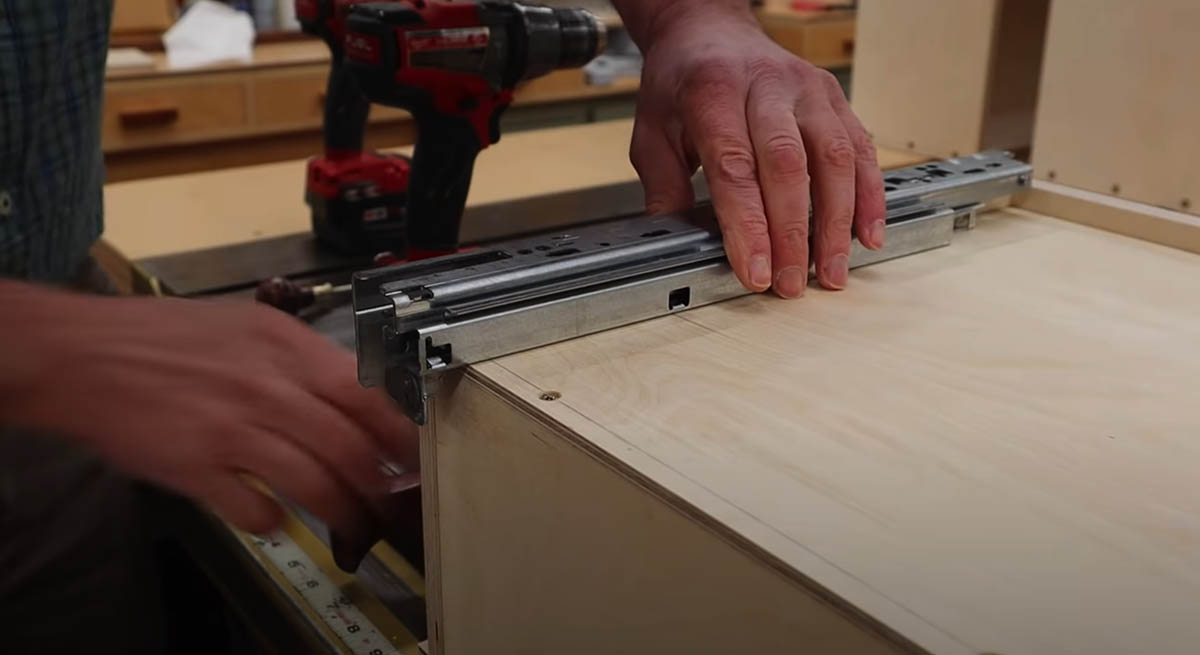
With the drawers finished, I’ll install the drawer slides. Put the drawer slides in place and give the back of the slides a tap so that the location pin makes a mark on the drawer. This is the point where we’ll drill small holes to accept the slide pins and secure the slides in position. Repeat this process for all of the slides on each drawer and move on to the undermount clips at the front of each drawer by snugging them into the corners and drive small screws through the mounting holes.
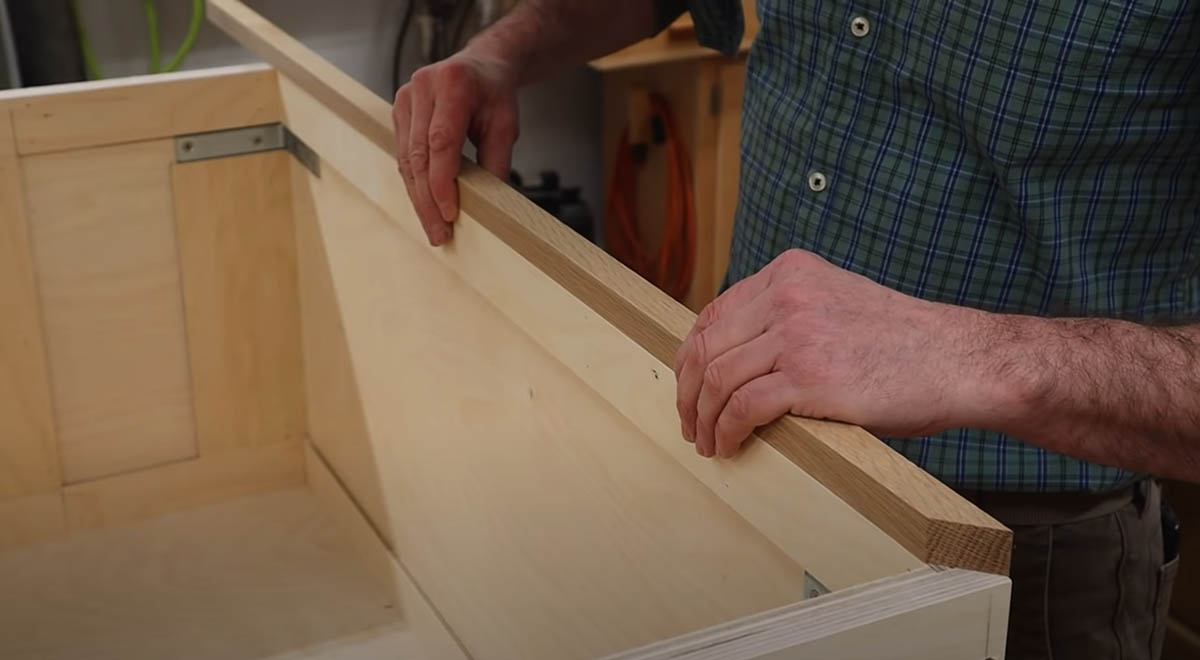
With the structure of the cabinet and the drawers complete, I make the drawer fronts using 3/4″ baltic birch plywood. After ripping each piece to size, I make up the edge banding for the drawer fronts. I attach the edge banding to the drawer fronts using wood glue and 1″ pin nails and I’ll quickly fill the countersink holes in the drawers with walnut wood plugs, set with CA glue and trimmed flush with the router.
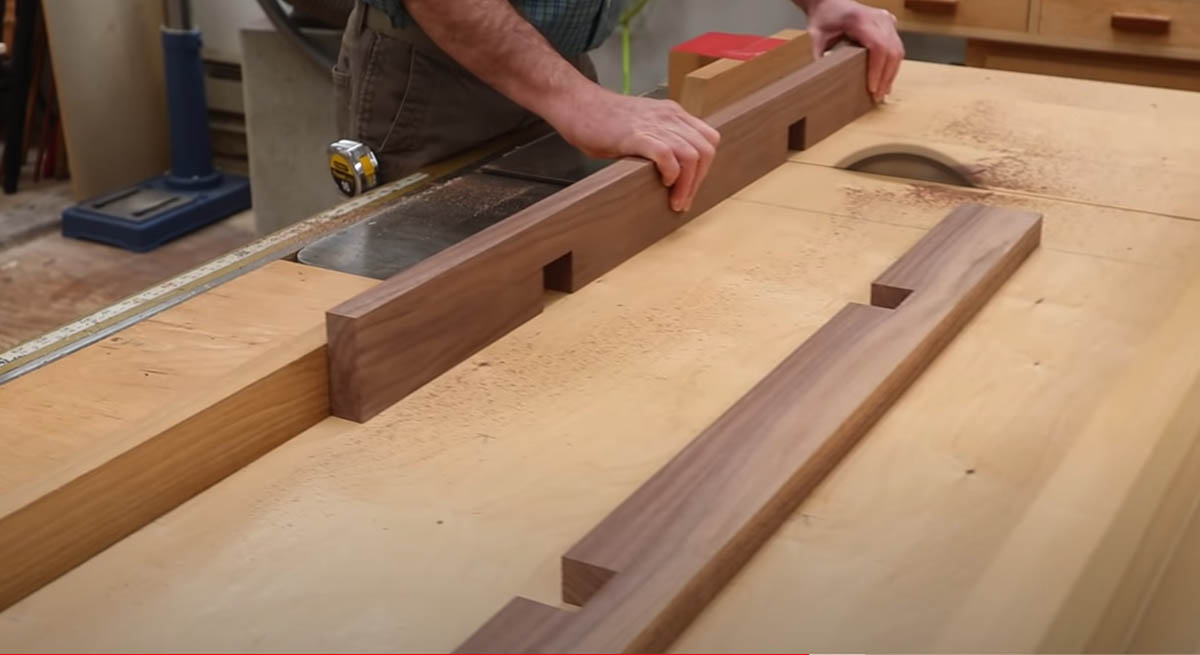
Moving on to the base of the cabinet, I use solid walnut with a gradular arch at the bottom of the base using a pattern. After marking and pre-drilling countersunk holes, I’ll bend the arch into place and secure the bend with 1″ screws. After trimming the pattern for the arch, I rip 5/4″ solid walnut to size for the base and feet. I’m using lap joints on the base, so I use a scrap piece of material to sneak up on the cut and test fit the joint before making the cut in my work piece of material.
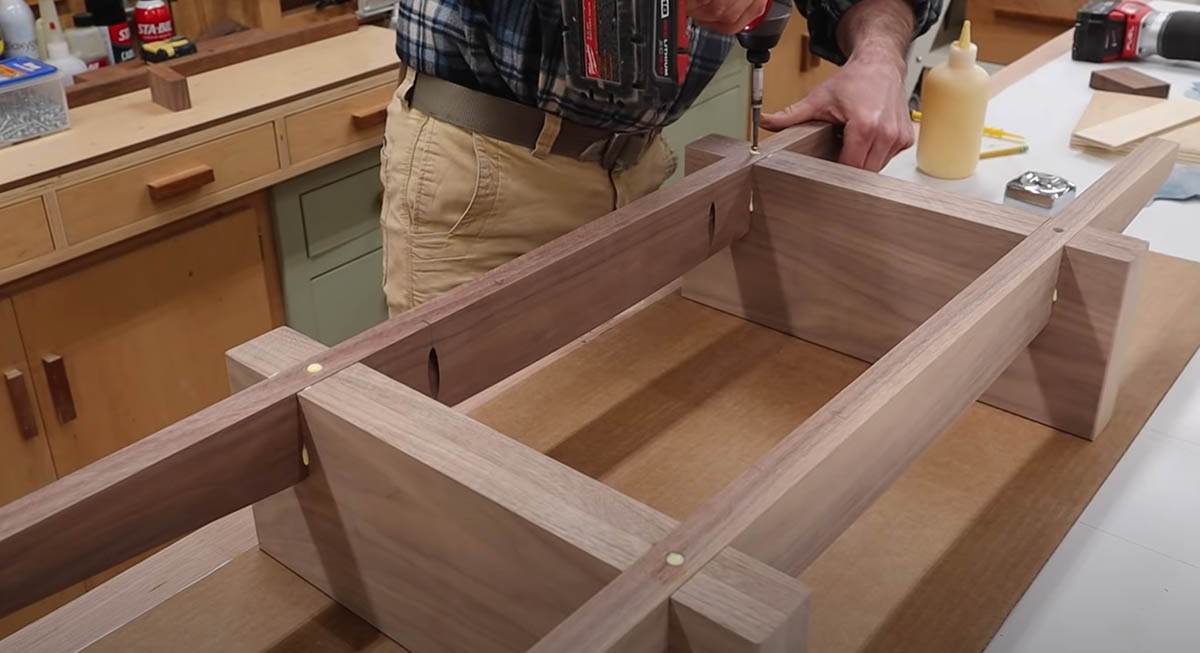
I trace the arch pattern onto the stretchers and cut them out with bandsaw a little heavy, making sure to leave my line. Set the stretcher on top of the pattern, keeping it flush back and 1/2″ from the edge on each side. Clamp everything together and use the flush cut bit to trim the final arch into the stretcher. After drilling all of the necessary assembly holes, I assemble the base using wood glue and 2″ screws.
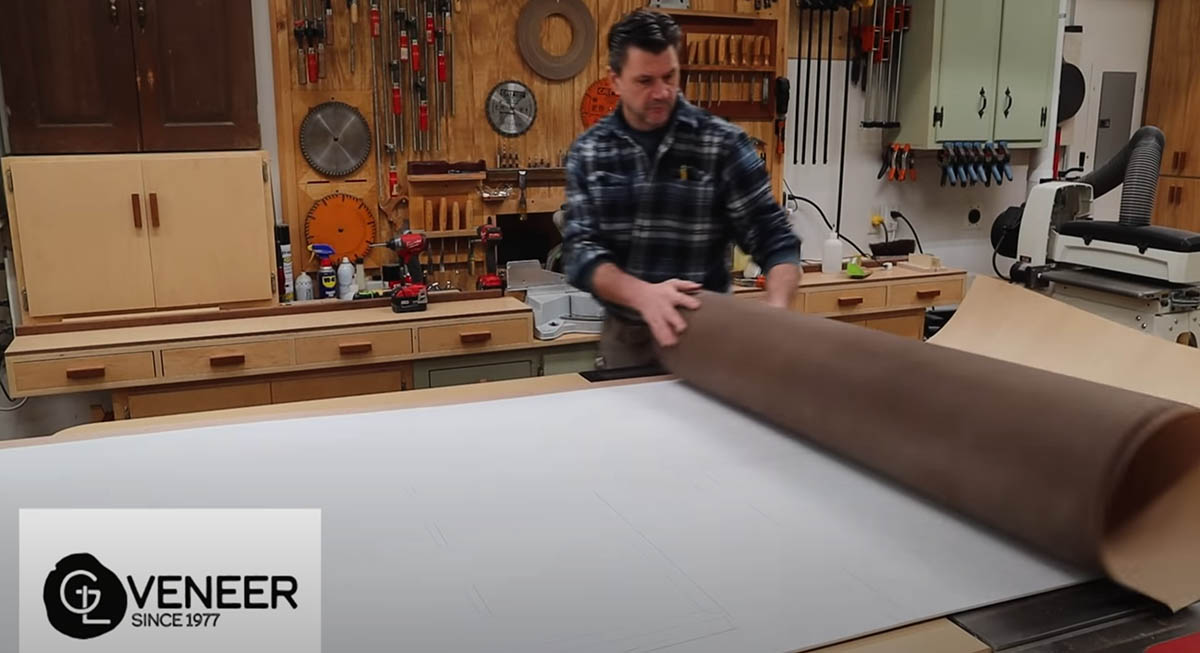
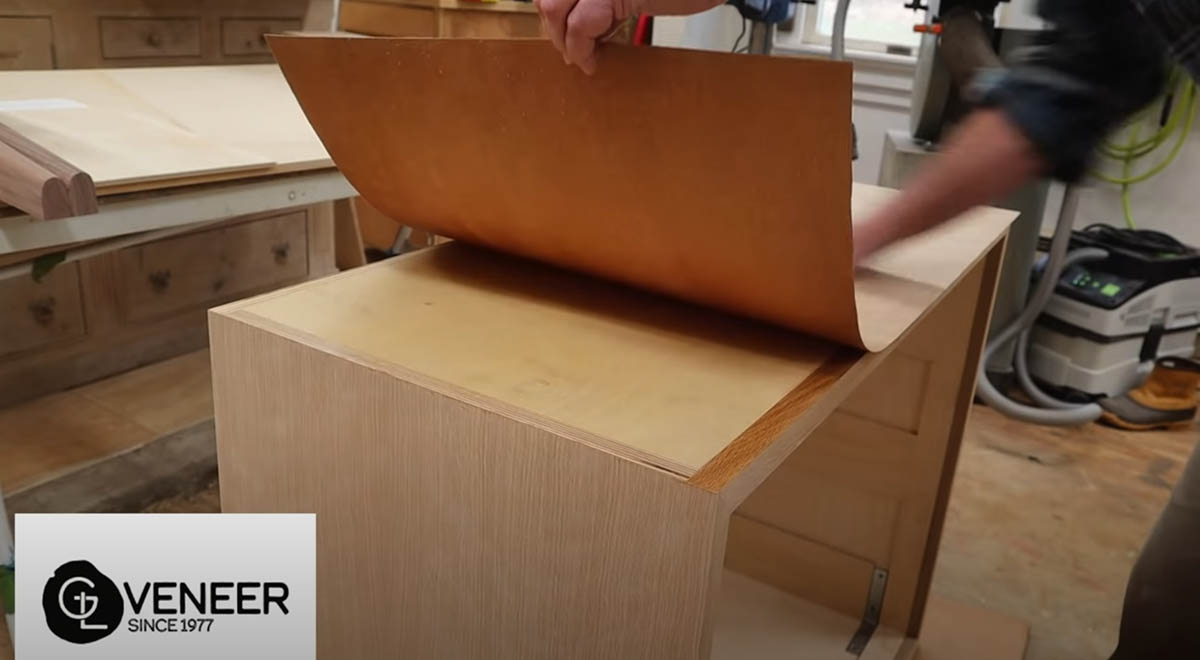
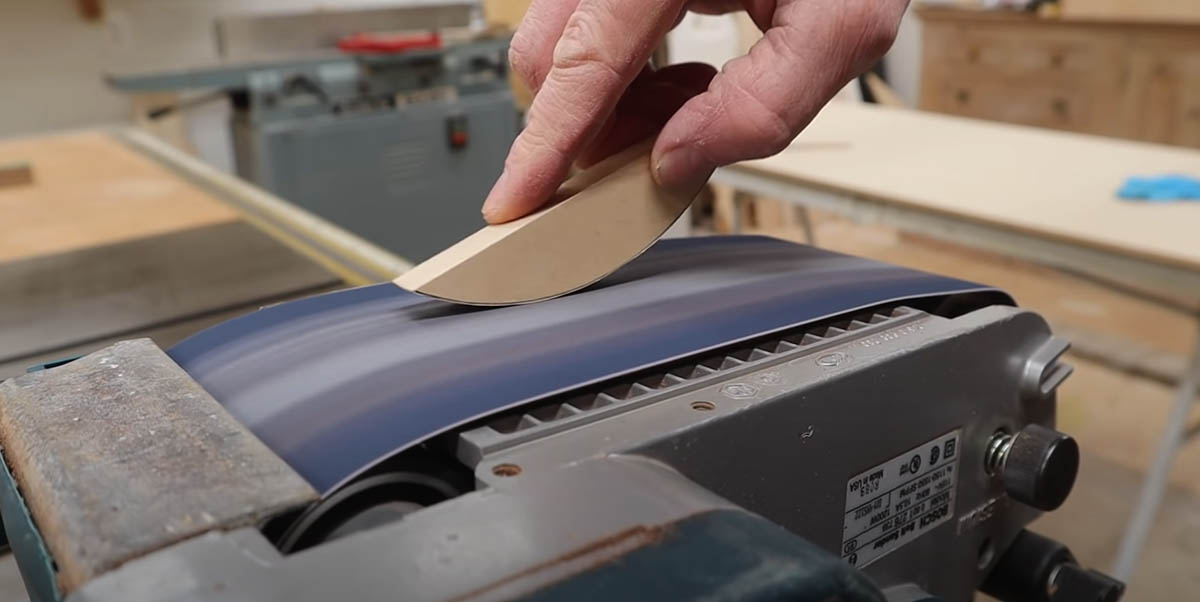
Next, I apply the veneer to the cabinet and drawer fronts. I’ll start by cutting the veneer to size, keeping the grain match as close possible between pieces. I apply each piece to the corresponding surface using contact cement and j-roller. I also use a piece of wood to apply pressure to the veneer. Trim the veneer with a flush-cut bit in the router and use sandpaper to clean up the edge.
To finish the cabinet, I’ll apply 3 coats of Mohawk lacquer, sanding between coats with 320 grit sandpaper.
Finally, I make another rounded pattern for the drawer pulls and cut the shapes out of MDF. I sand down the arch shapes for a smooth contour and attach them using countersunk screws. I attach the fronts to the drawer boxes using the holes I made for the drawer pulls and attach them permanently using the holes I drilled earlier on the inside of the drawer fronts.

Sponsored By:
 Home to a vast inventory of wood products in Huntington Park, CA, in the heart of Los Angeles, GL Veneer ranks among the world’s premiere wood veneer suppliers for architects, interior designers, and home owners seeking inspired room décor ideas for residential projects.
![]() Finisher’s Choice™ Clear Lacquers have always been trusted for high quality results. These lacquers are our best selling and easiest to use nitrocellulose formulation and perfect for applying to interior wooden surfaces. Our unique formulas are shipped at spray viscosity to help you save time and money by getting the build you need with less application.
Finisher’s Choice™ Clear Lacquers have always been trusted for high quality results. These lacquers are our best selling and easiest to use nitrocellulose formulation and perfect for applying to interior wooden surfaces. Our unique formulas are shipped at spray viscosity to help you save time and money by getting the build you need with less application.