Click Here to Get These Project Plans
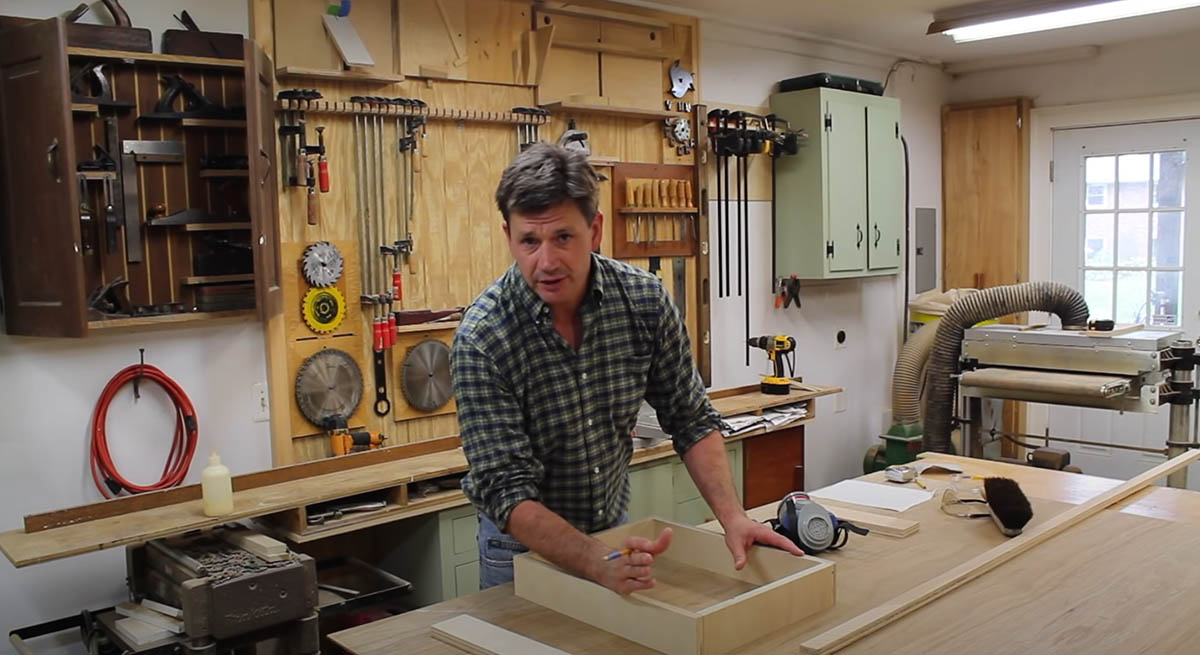
I made this set of Mid Century Modern End Tables about six years ago. I’ve re-edited the video to a more clear and more instructional video. I’ve also removed the music and had professional plans made.
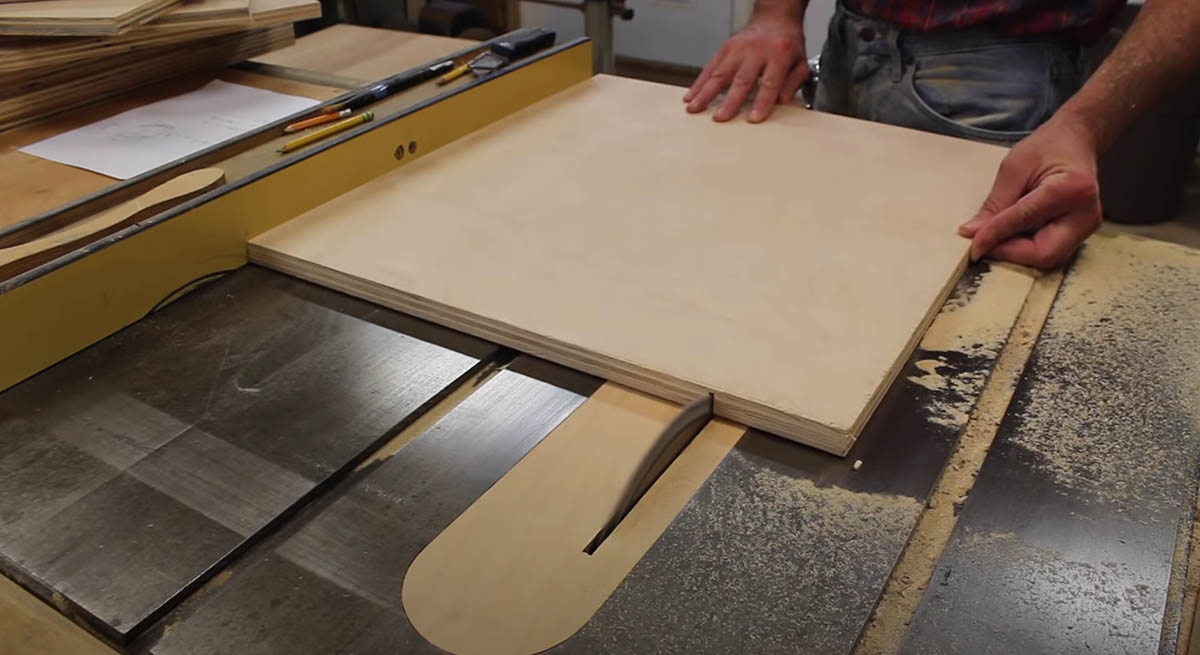
I build the cabinets out of 3/4″ Birch plywood. I’ll start by rough cutting the pieces to size and then cut the smaller pieces to their final measurements.
Rip Sides and Back
Next, I’ll rip the edge banding to 3/8″ from a piece of solid Zebrawood, then run through the drum sander to remove the blade marks. I’ll attach the edge banding using an 18 gauge nailer with simple butt joints before assembling the cabinet.
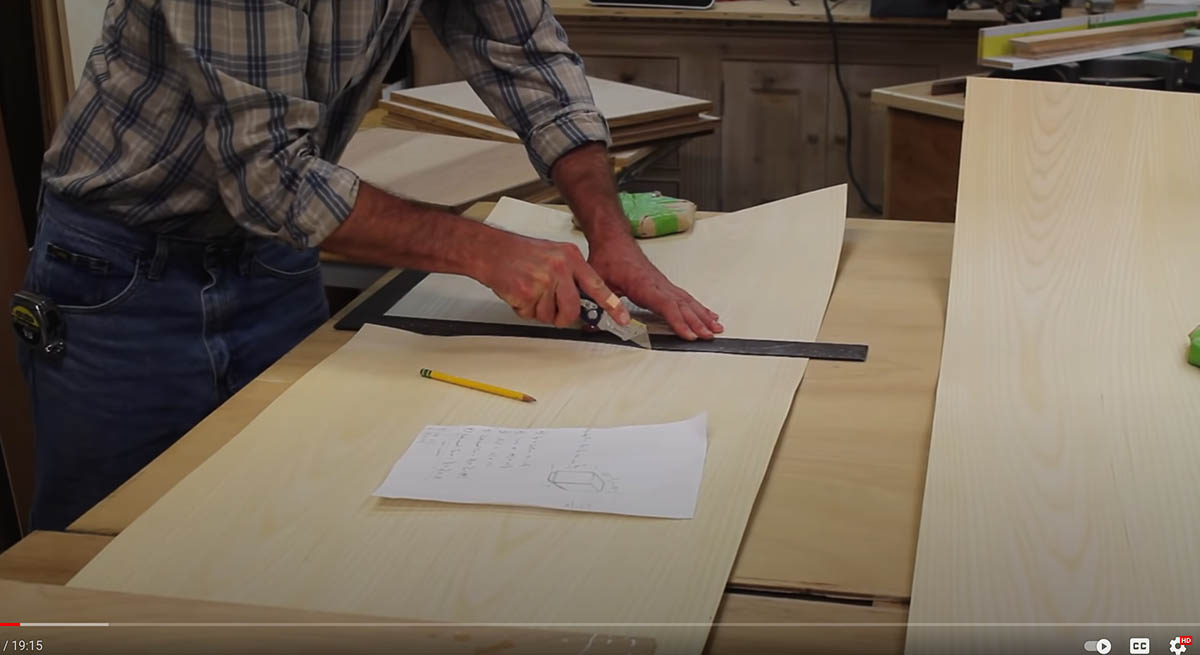
Cut Veneer
The next step is to cut the veneer to size for the inner panels, leaving a 1/4″ overhang on all 4 sides. I’ll use 2 coats of solid-based contact cement to adhere the veneer to the cabinet. Letting the first coat dry to touch before applying the 2nd coat. When the 2nd coat is dry to touch, I’ll position and attach the veneer by applying pressure with a board. You can also use a J-roller.
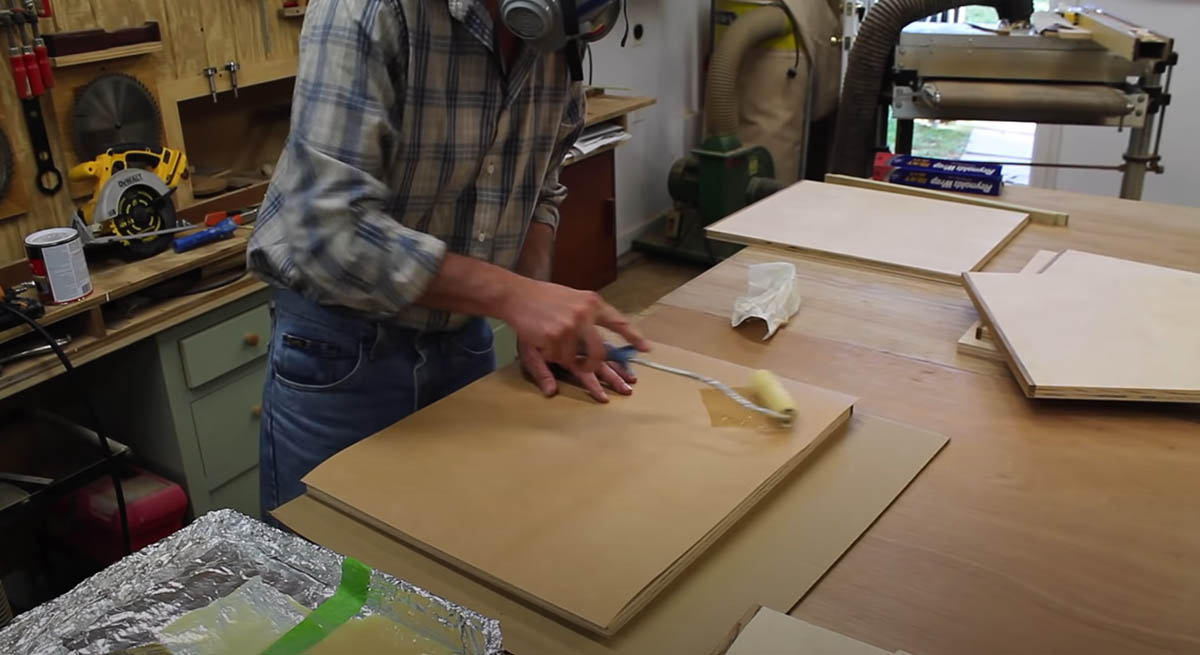
Apply Veneer
Once the veneer is applied and dry, I’ll use a flush cut bit in the router to trim the overhang.
After the panels are prepped, I can start the build the cabinet. I’ll start by attaching the sides to the back by drilling counter-sinked holes along the edges. Using a little glue along the edge, I can screw the panels together.
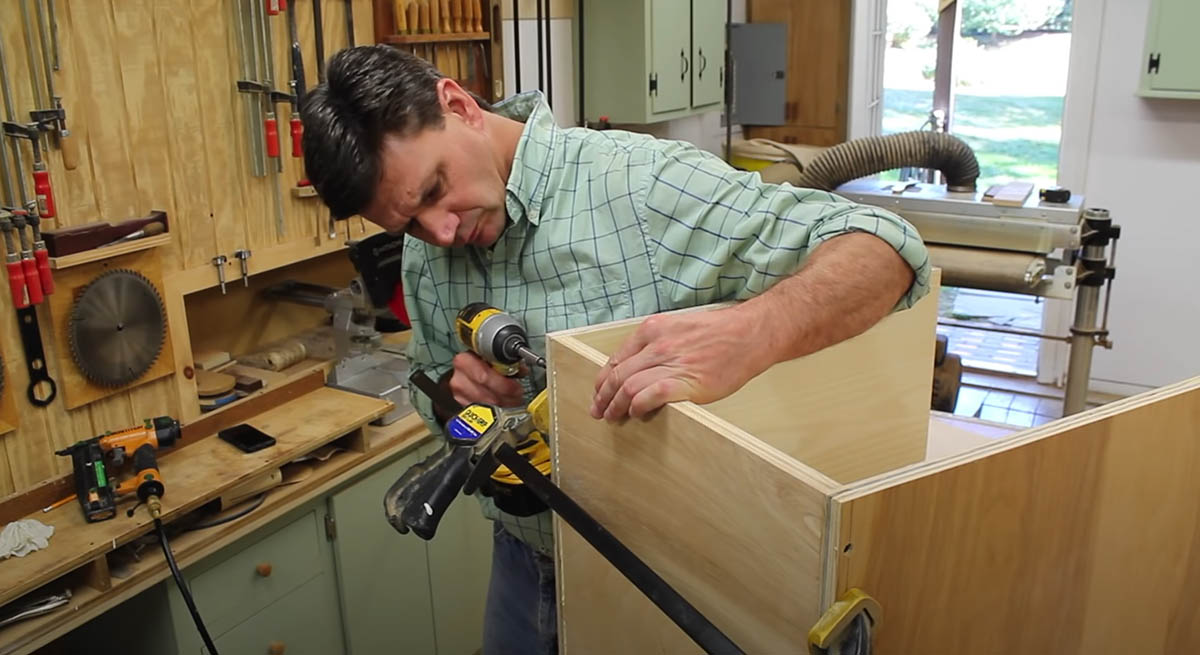
Assemble Sides and Back
With the sides and back assembled, I can measure and rip my top and bottom pieces on the table saw and attach them using the same counter-sink screws with a little glue, as I used to assemble the sides and back.
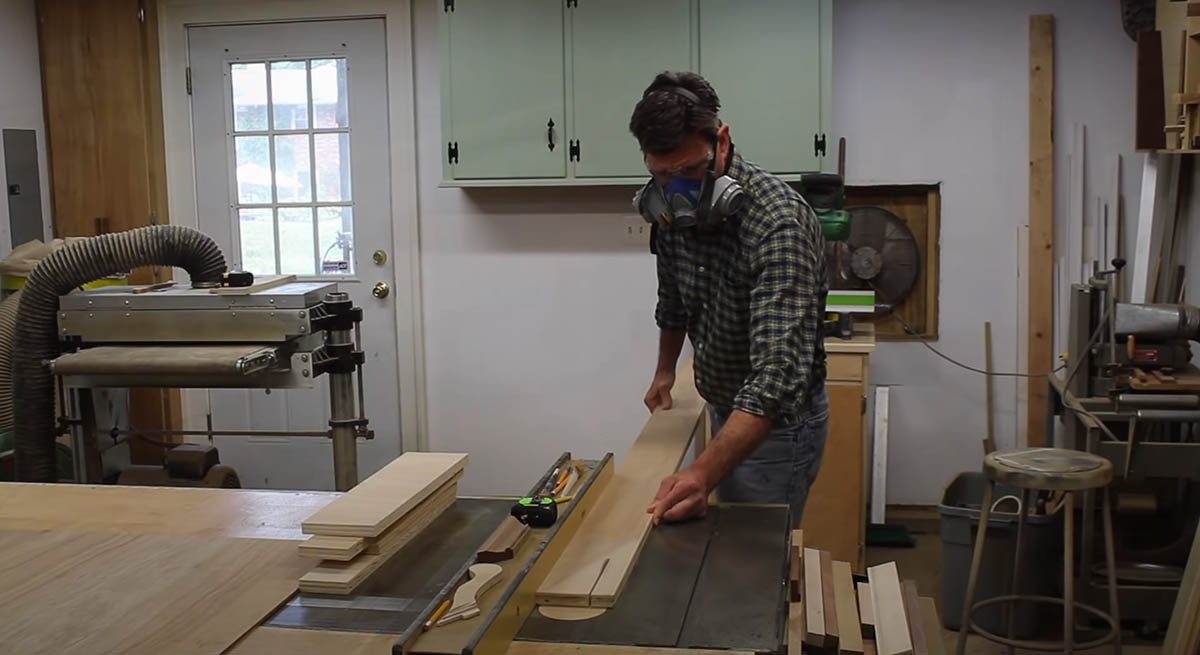
Rip Base Pieces
Next, I want to build the foot, or base, of the cabinet. I’ll rip strips of 3/4″ plywood at 3″. The base of the cabinet is just a simple frame. I’ll assemble the base using the same counter-sinked screws and glue as I used with upper the cabinet. With the frames assembled and square, I’ll attach Poplar cleats to the base for added strength and a surface to attach the base to the bottom of the cabinet.
Cabinet Bases
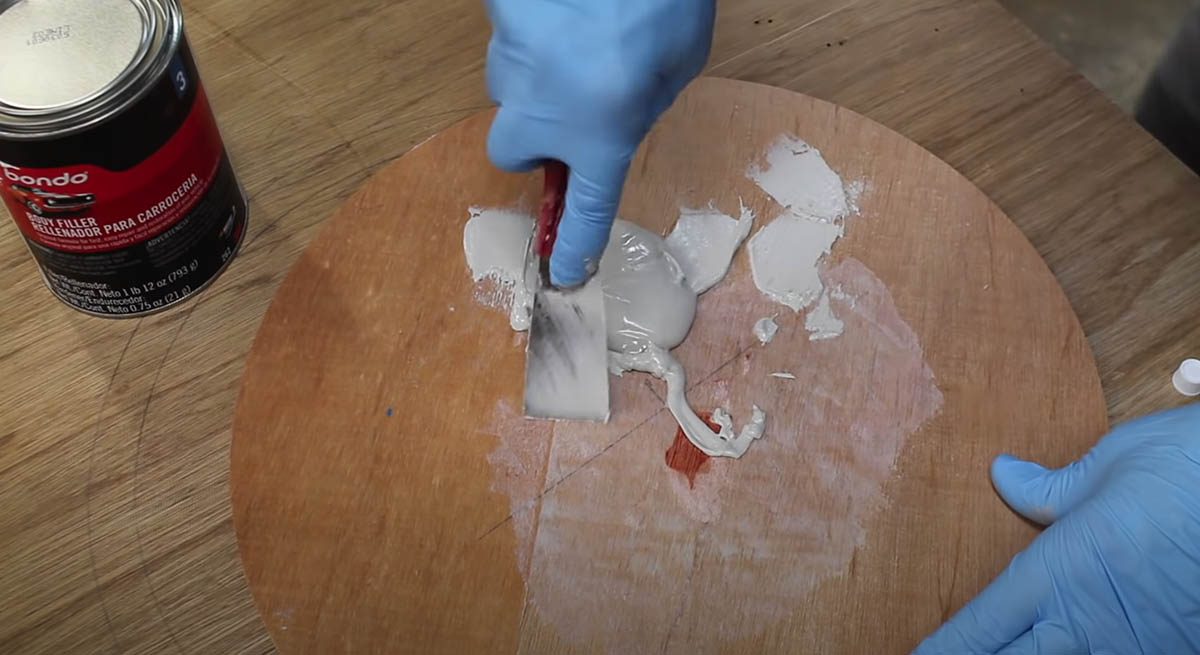
Woodfiller for Screw Holes
I use wood-fill when working with veneer to fill the counter-sink holes and any other imperfections in the plywood. The best wood-fill I’ve found is automotive body filler (Bond-O). After the filler is dry, I give the cabinet a good sanding to make sure that all of the surfaces are flush.
With the cabinets sanded and ready, I cut the Zebrawood veneer for the outer panels and base and attach the pieces using the same process I used for the insides of the cabinet.
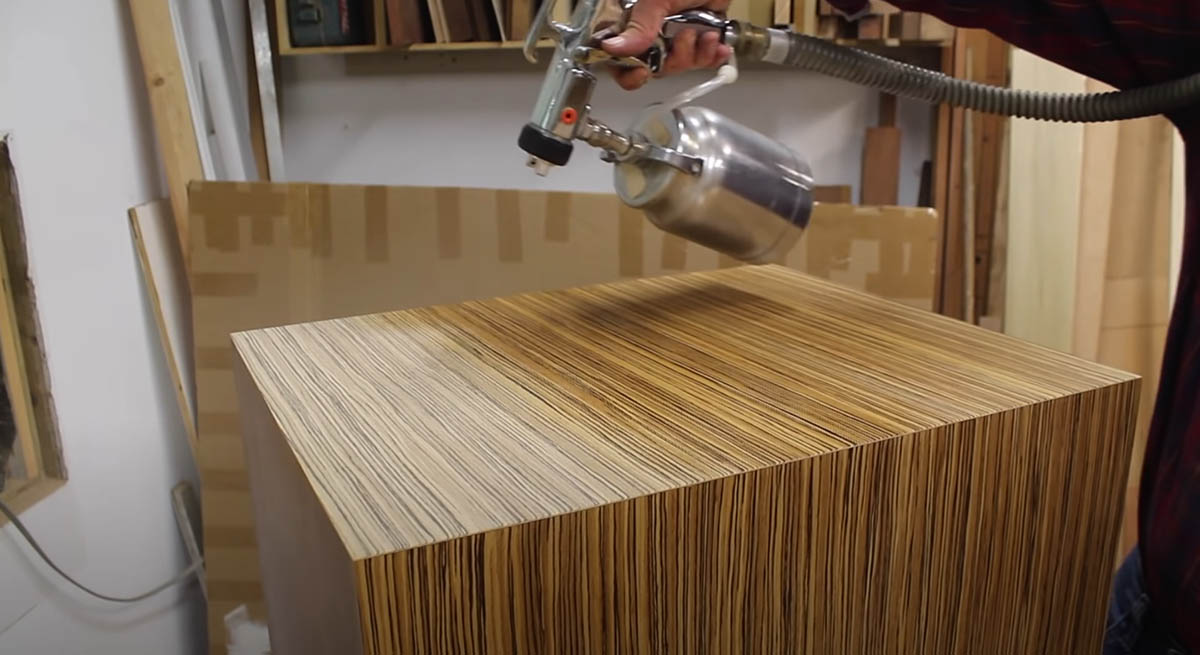
Spray Lacquer Coats
I’ll finish with 3 coats of clear lacquer, sanding in between coats with 320 sandpaper.
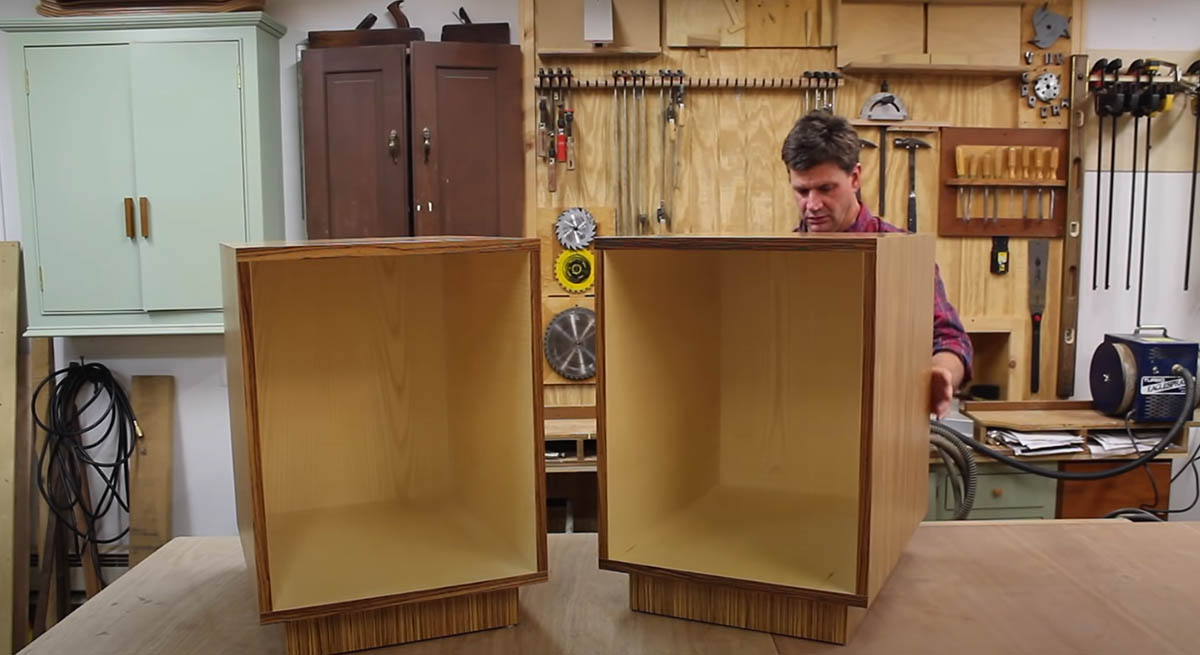
With everything dry, it’s time to attach the bases to the cabinets for the final product.
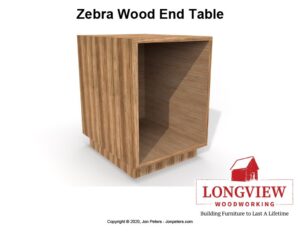
Get These Project Plans
Zebra Wood End Table
$9.00