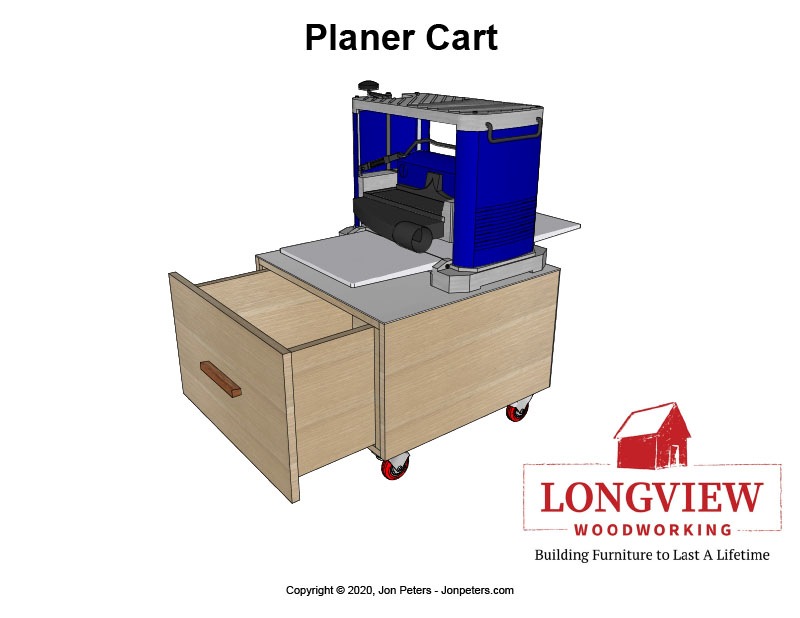
This sturdy mobile planer cart is a great way to get some flexibility on certain projects, especially in a smaller shop.
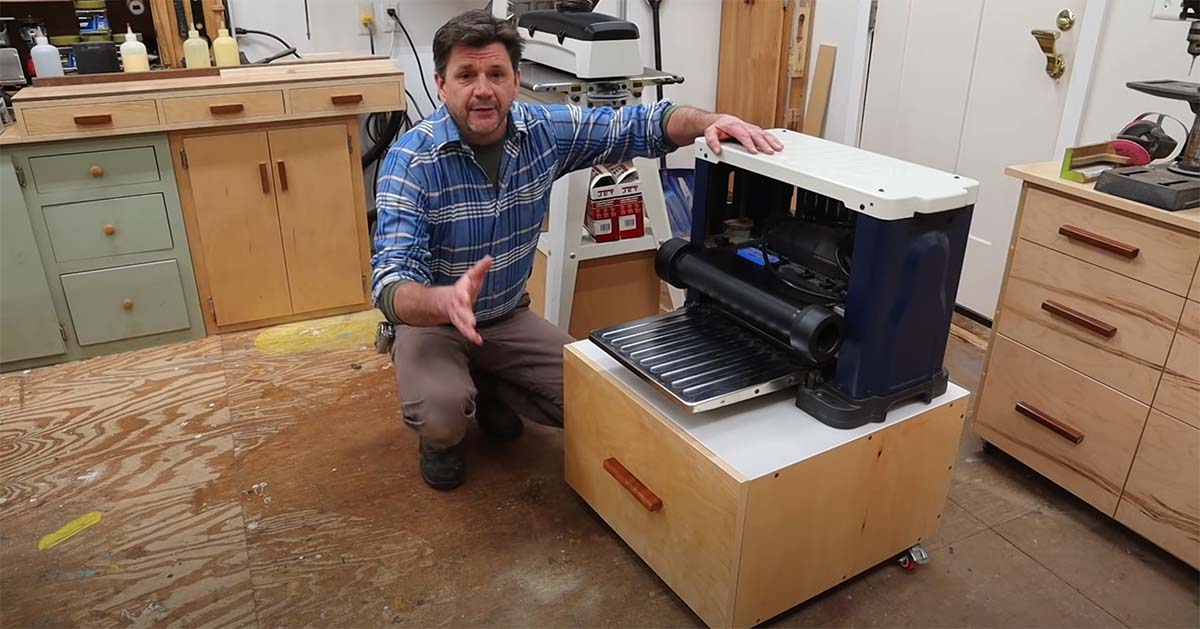
How To Build A Planer Cart
The planer cart measures 24″ W x 24″ D x 17″ H with a sturdy storage drawer. I build the box from 3/4″ birch plywood. I make the long cuts on the Sawstop and cut the parts to length on the Powermatic. After measuring the sides, I predrill holes for the screws.
I’ll attach the sides to the back using wood glue and tack them in place with the nailer. Use a 3/4″ construction screw for a stronger joint.
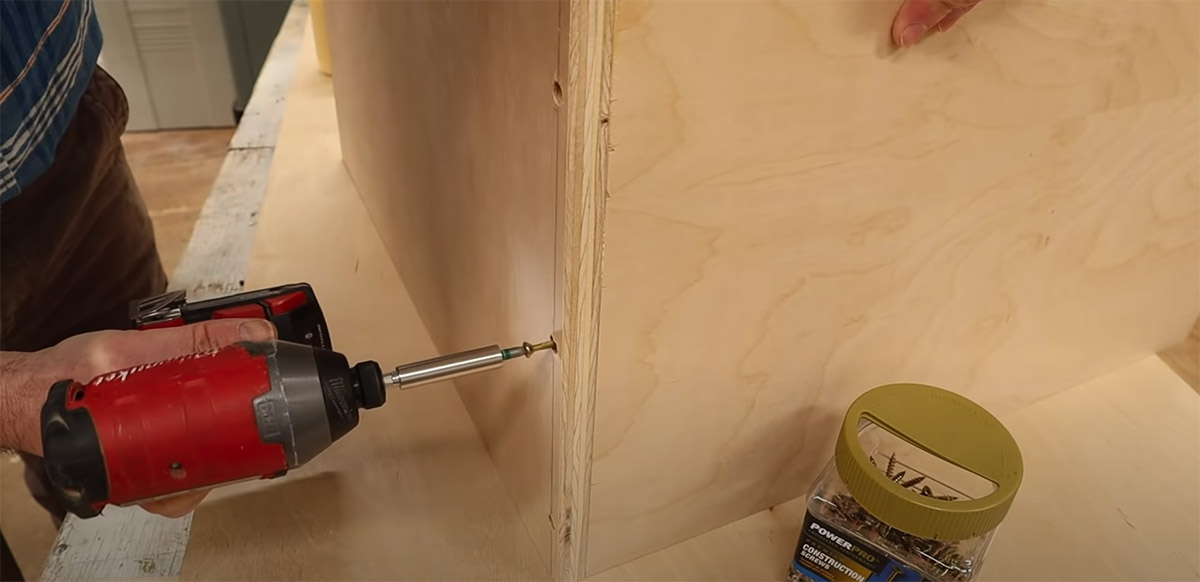
Mobile Planer Cart Joints
With the sides assembled and drying, I cut the parts for the top and bottom that I’ll attach with 1-3/4″ construction screws. I add 3/4″ plywood inserts for added strength.
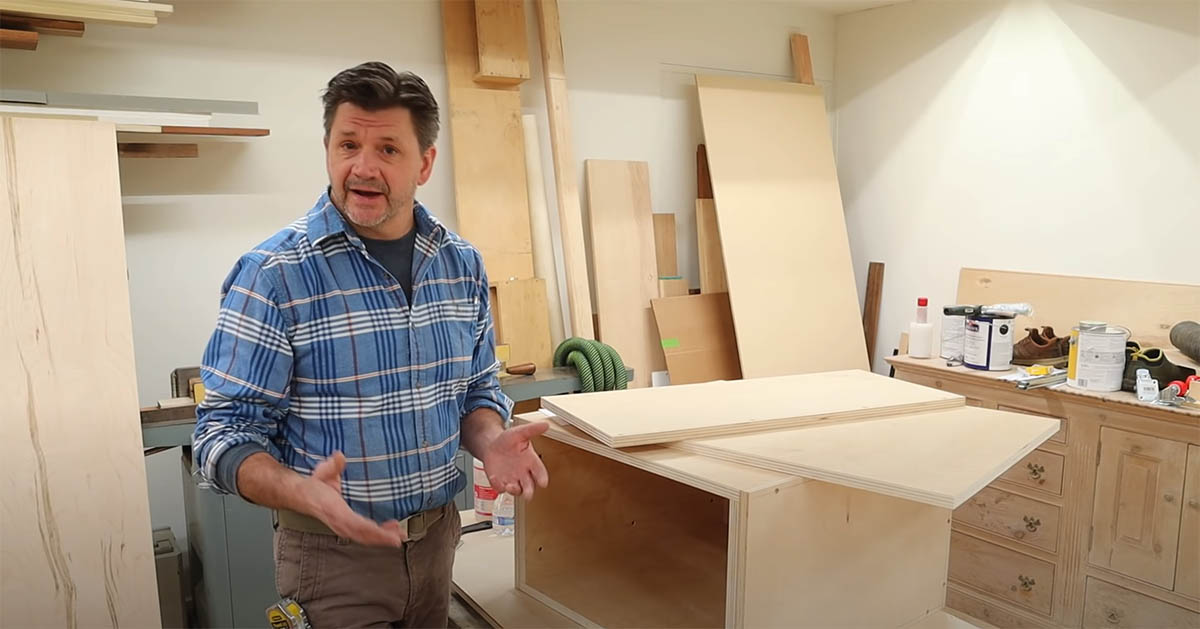
Build A Mobile Planer Cart with Storage Cabinet
With most of the work done on the cabinet, it’s time to get started on the heavy-duty drawer. Using 3/4″ plywood, the drawer will add weight and stability to the finished cabinet. The drawer will be 20″ wide, including the sides of the drawers.
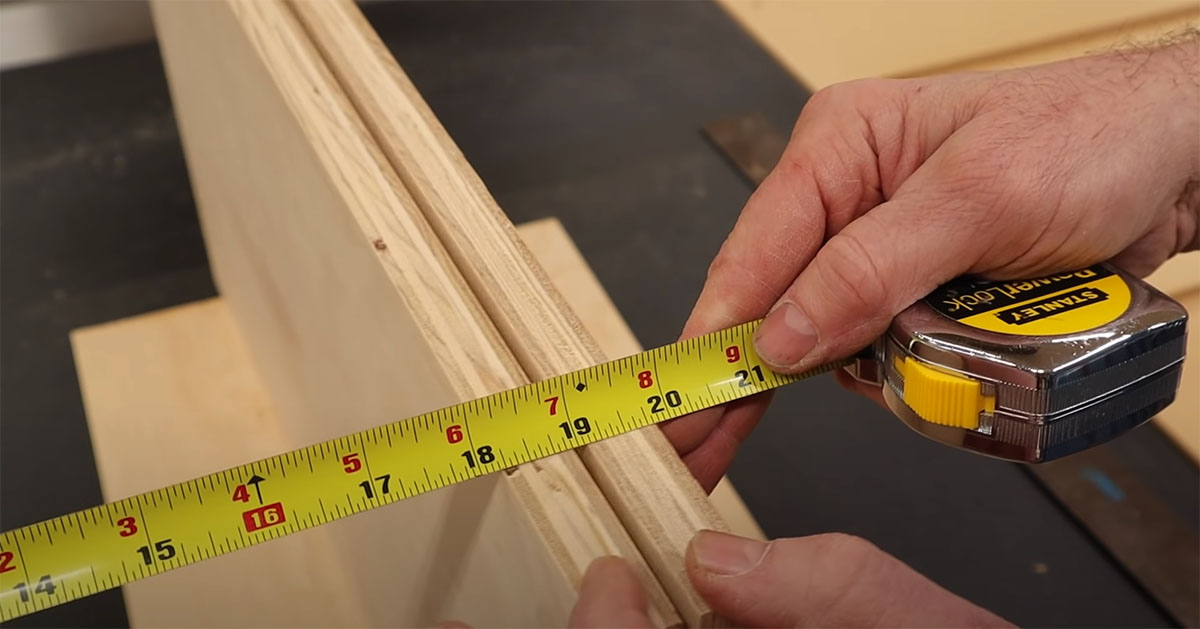
Mobile Planer Cart Drawer
After cutting the grooves for the drawer bottom and drawer back, I measure and mark for pre-drilling the assembly screws. I assemble the drawer the same way that I assembled the rest of the cabinet.
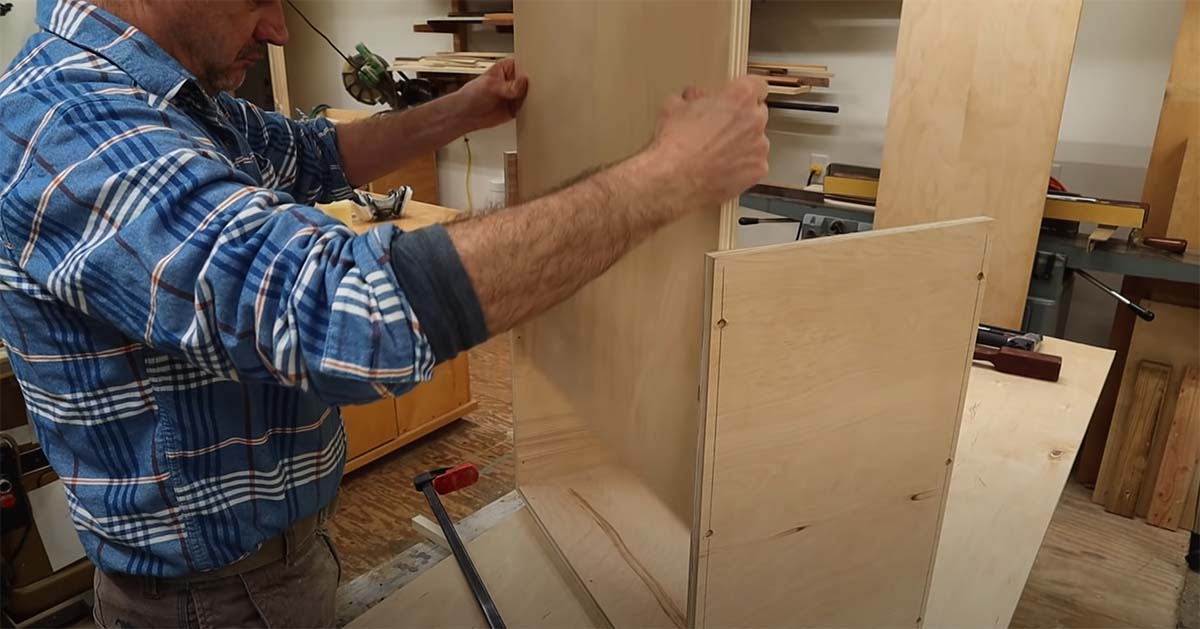
Build A Planer Cart with Storage Cabinet
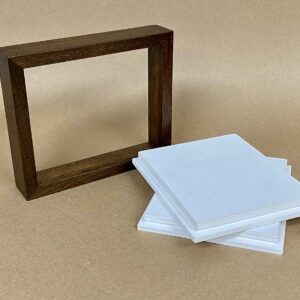
I’m covering the top and back of the cabinet with acrylic. I cut the plexiglass 1/2″ oversized and sand it down with 120 grit sandpaper for better paint adhesion. I’ll apply 2 coats of latex paint. This step isn’t necessary.
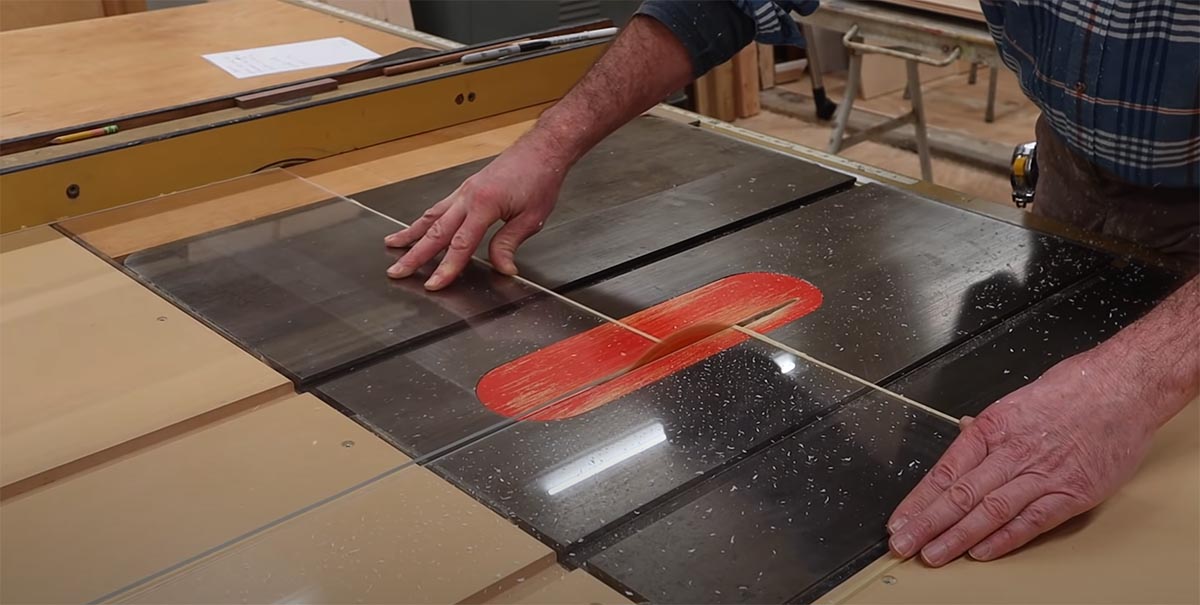
Mobile Planer Cart Acrylic
With the paint drying on the acrylic sheets, I’ll cut several quick wood plugs to fill up the countersink holes on the cabinet. Using a little wood glue, I set the plugs in place and use a router to remove the excess.
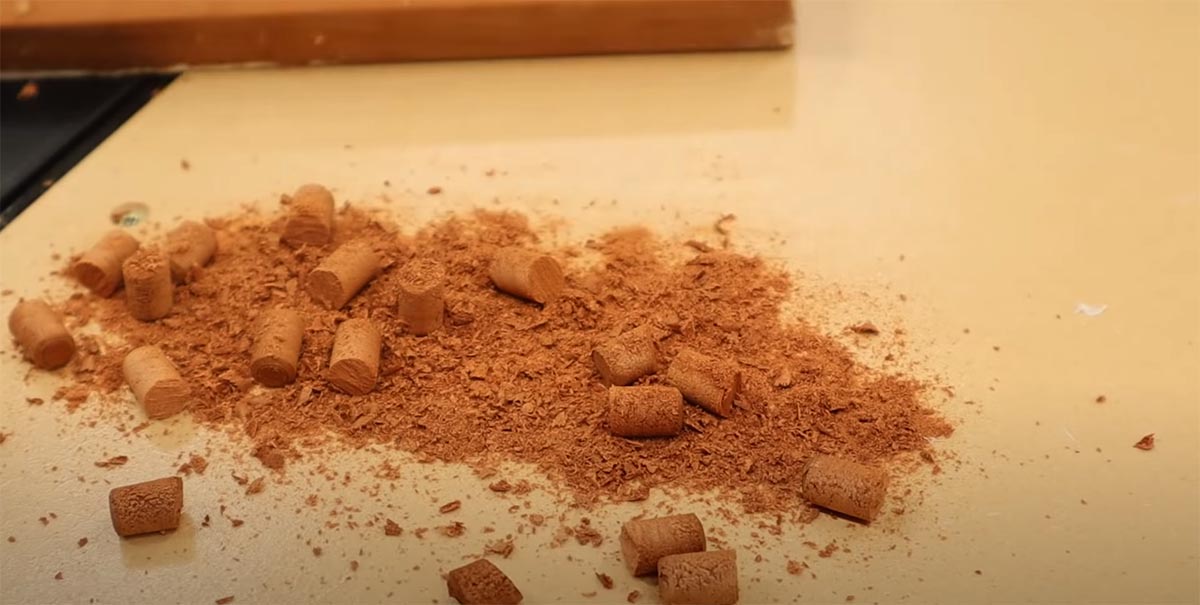
Mobile Planer Cart Fill Plugs
Next, I coat the acrylic sheets in contact cement for a secure bond to the cabinet surface.
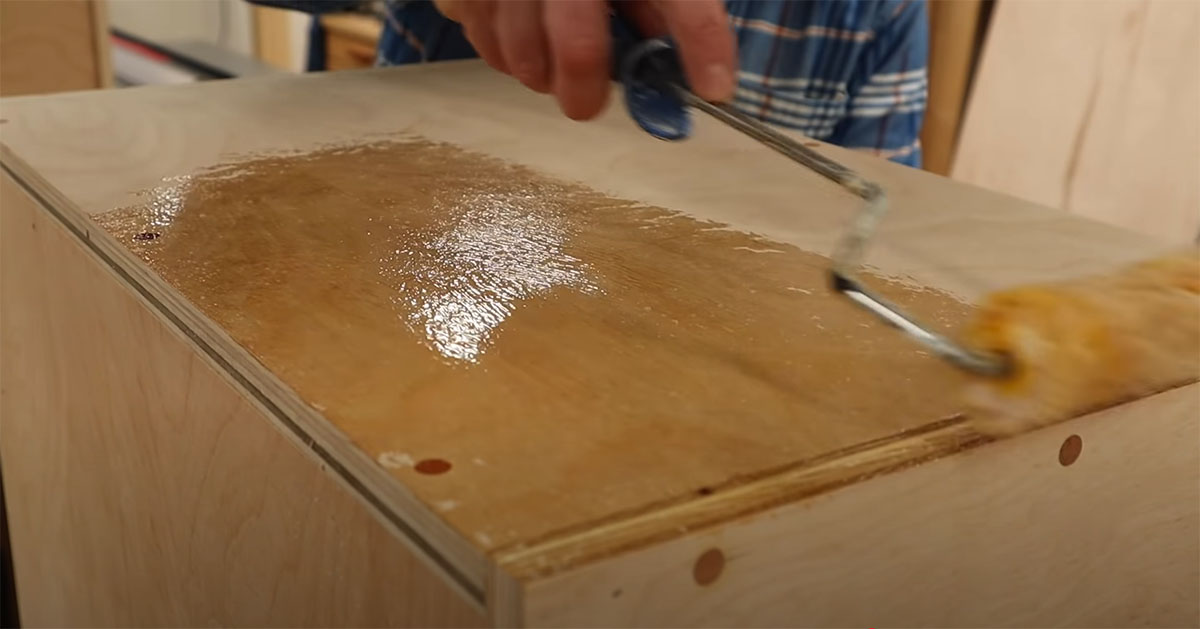
Build A Mobile Planer Cart
Using a piece of scrap board as a jig, I place and install the metal slide rails for the drawer to the inside of the cabinet.
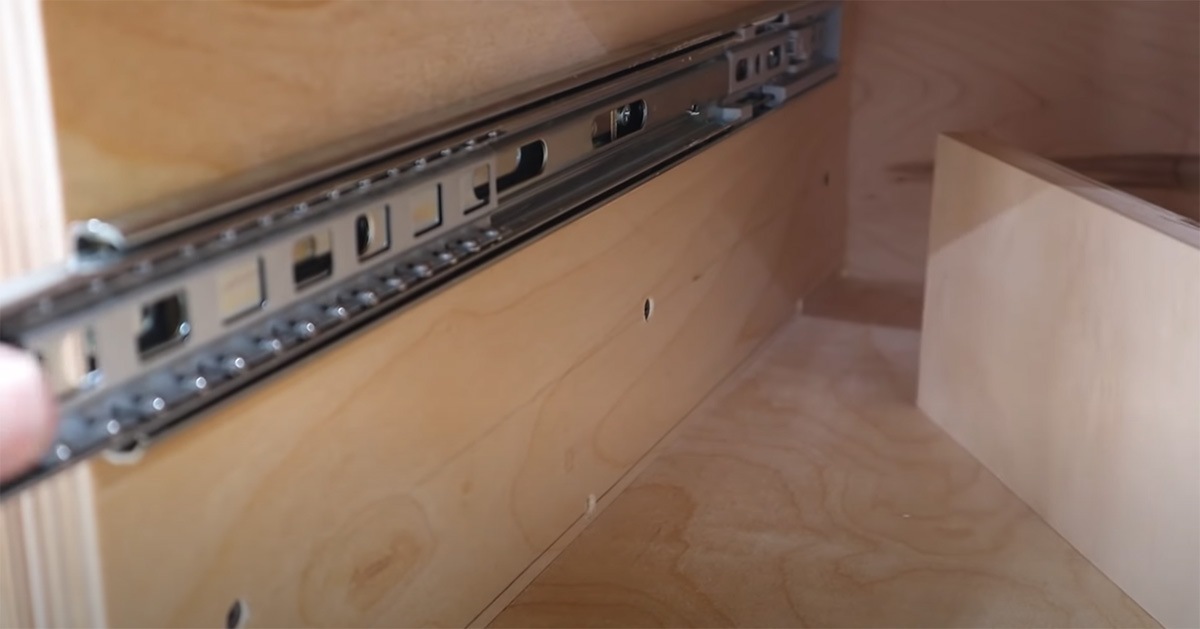
Build A Planer Cart
Before moving on to the wheels, I cut a quick drawer front and use edge banding to hide the end grain. Attach the drawer front with 4 shallow screws.
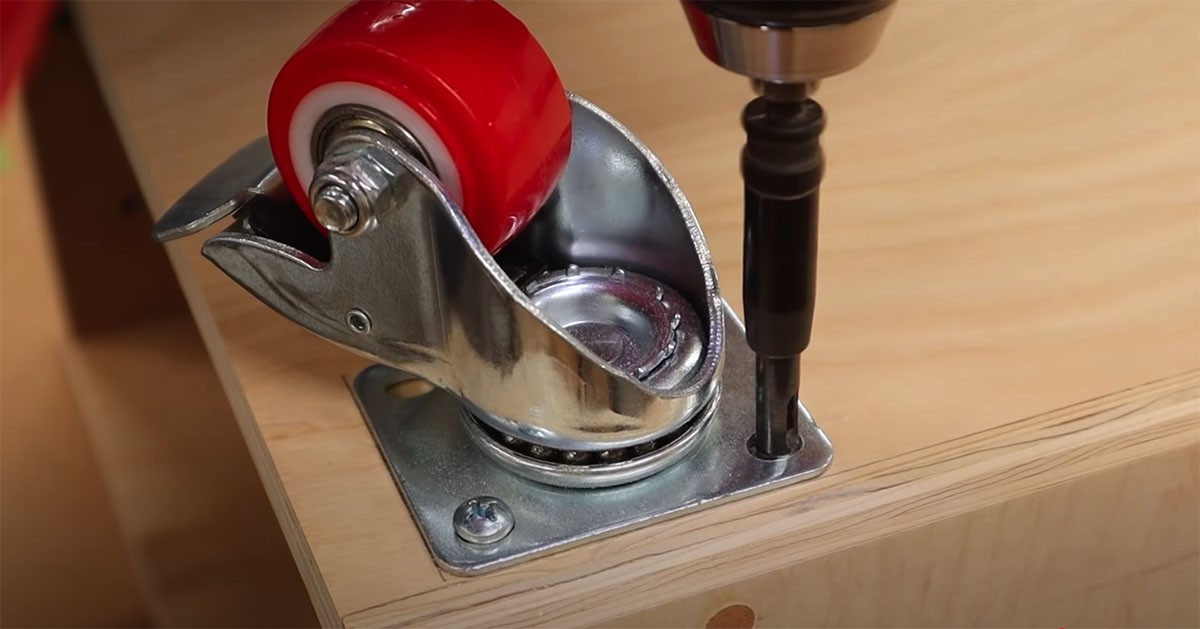
Finally, the caster wheels get attached to each corner on the bottom of the cabinet using a Vix bit to automatically center the holes for the screws.
Planer Cart with Storage Cabinet
After a final sanding with 180 grit sandpaper, I’ll finish the cabinet with clear lacquer.

How To Build A Planer Cart
Thanks for watching if you want to build this project click here for the project plans. See you next time!
