[et_bloom_inline optin_id=”optin_10″]
Hi guys, today I’m making a simple garden workbench for the yard. For this project, you’ll need (4) 1x6x10 boards. I’m using pretreated lumber but you can use cedar or whatever is common for outdoor use where you live. You’ll also need (5) 2 x 4×10 boards.
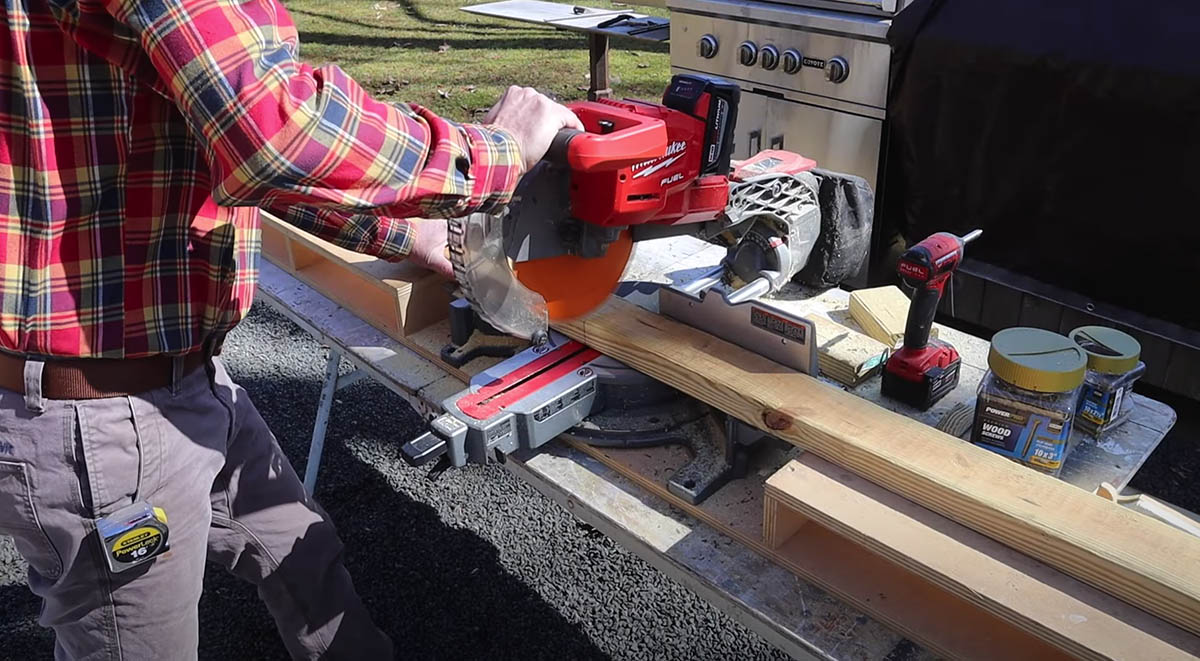
Start by rough cutting the lumber a little heavier than 56″. Cut a 10 degree angle at the end of each board, set up a stop block and cut each piece at 56″ long point to long point. These boards will make the table apron.
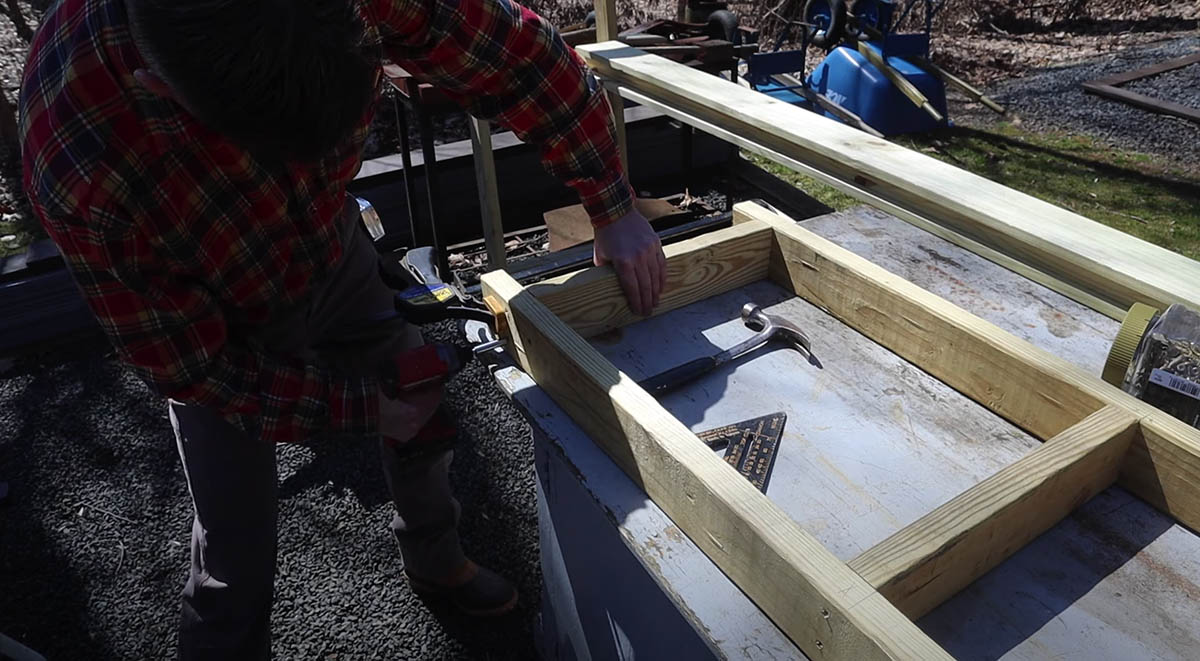
Next, I’ll cut (6) 2×4’s at 16.5″ for the cross-braces. Draw your attachment marks and use 3″ exterior screws to assemble the apron and brace pieces.
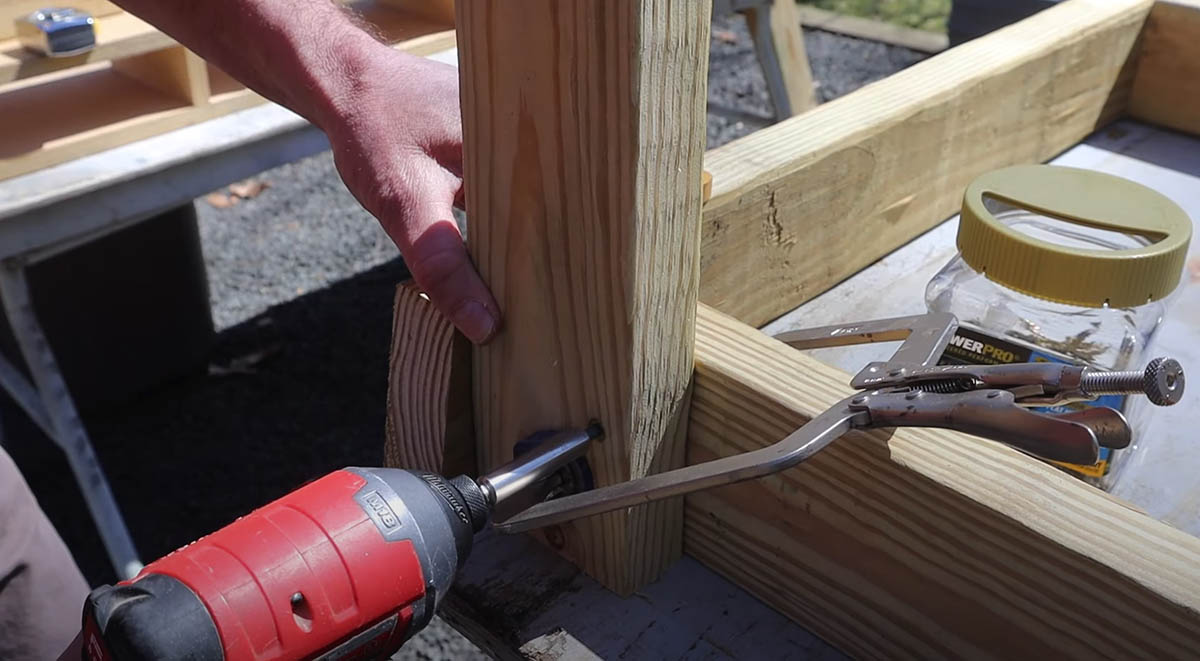
The next step is to cut the legs to length. I want the table height to be 34″, I set up a stop block and cut the legs at 33.25″. Place the apron upside down on your work table and clamp the legs in place. Attach the legs to the apron using (2) 2.5″ screws on each leg into the cross brace and (2) 3″ screws through the apron into the leg.

With the legs attached, I can flip the table over and attach the bottom apron assembly. Cut some of the scrap wood into 6″ blocks to support the lower apron assembly while attaching it to the legs. Attach the lower apron the same way as the upper apron.
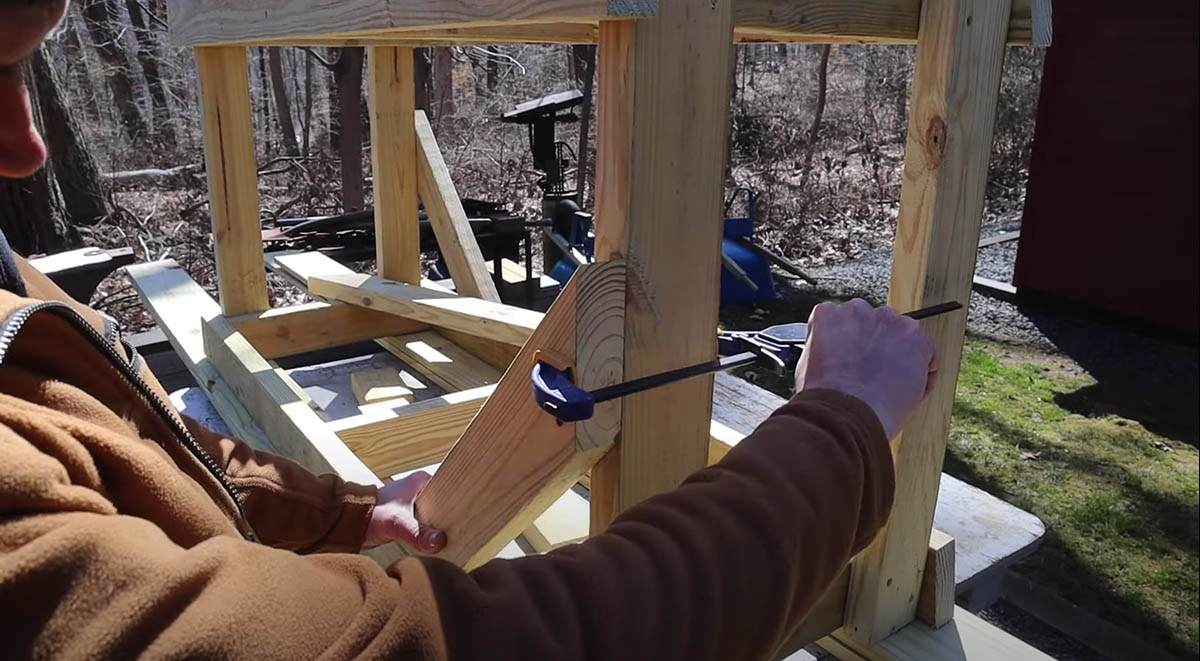
The next step is to flip the table upside down again to add cross bracing between the legs and the apron. Adding this extra bracing will make the very rigid and strong. Cut (4) 20″ braces from the remaining 2×4’s with 45 degree angles on each end. Use (2) 3″ screws to attach the brace to the leg and (1) 3″ screw to attach the brace to the bottom of the apron.
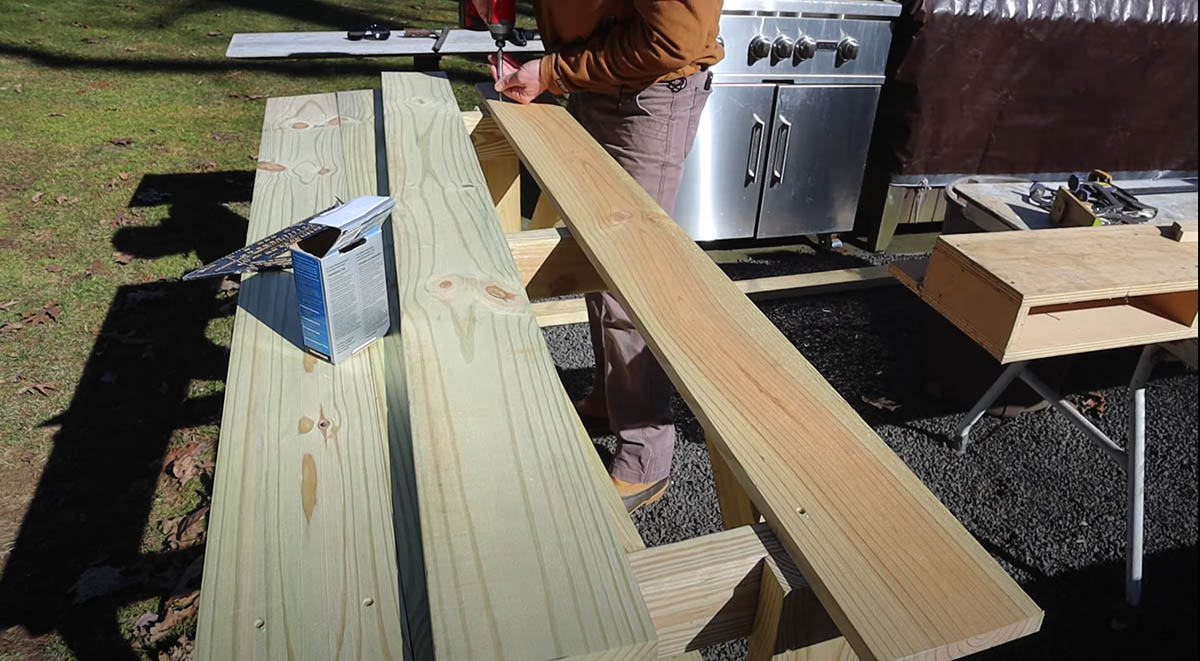
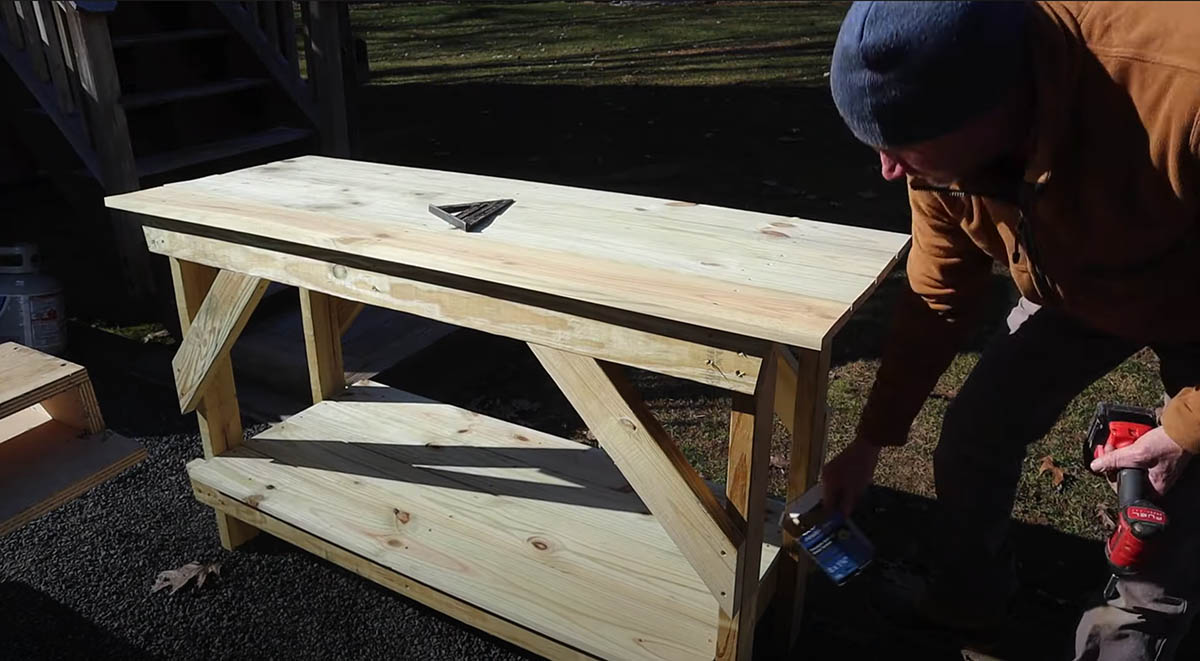
With the table base assembled, I’ll cut the 1×6’s to make the table top and lower shelf.
Thanks for watching guys!
[et_bloom_inline optin_id=”optin_10″]