Buy plans for this project!
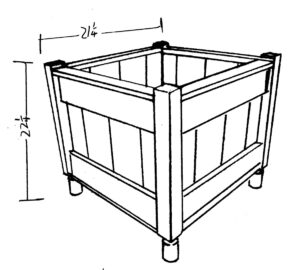
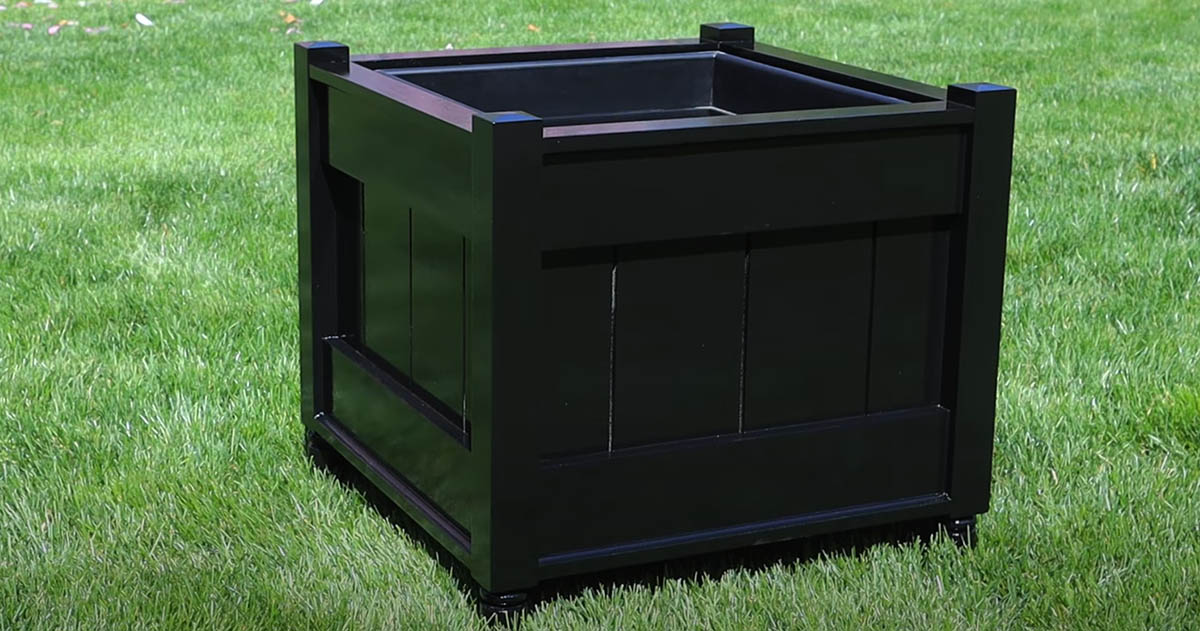
For this project, I’m building a garden planter box. These are a great project to give your outdoor space some textural decor that functions. I built this planter around the dimensions of a commonly available insert from any home or garden store. Be sure to check out the video I made for the alternate leg design for this project.
Buy These Plans![]() Thanks again to Jonathan Green for sponsoring this video! Jonathan Green Mag-I-Cal Plus and all their soil foods can be used in lawns, gardens, or planter beds like the one I made here today. The first 100 people who use coupon code “JONPETERS10″ will get 10% off their purchase of Mag-i-Cal Plus!
Thanks again to Jonathan Green for sponsoring this video! Jonathan Green Mag-I-Cal Plus and all their soil foods can be used in lawns, gardens, or planter beds like the one I made here today. The first 100 people who use coupon code “JONPETERS10″ will get 10% off their purchase of Mag-i-Cal Plus!

Build A Garden Planter Box
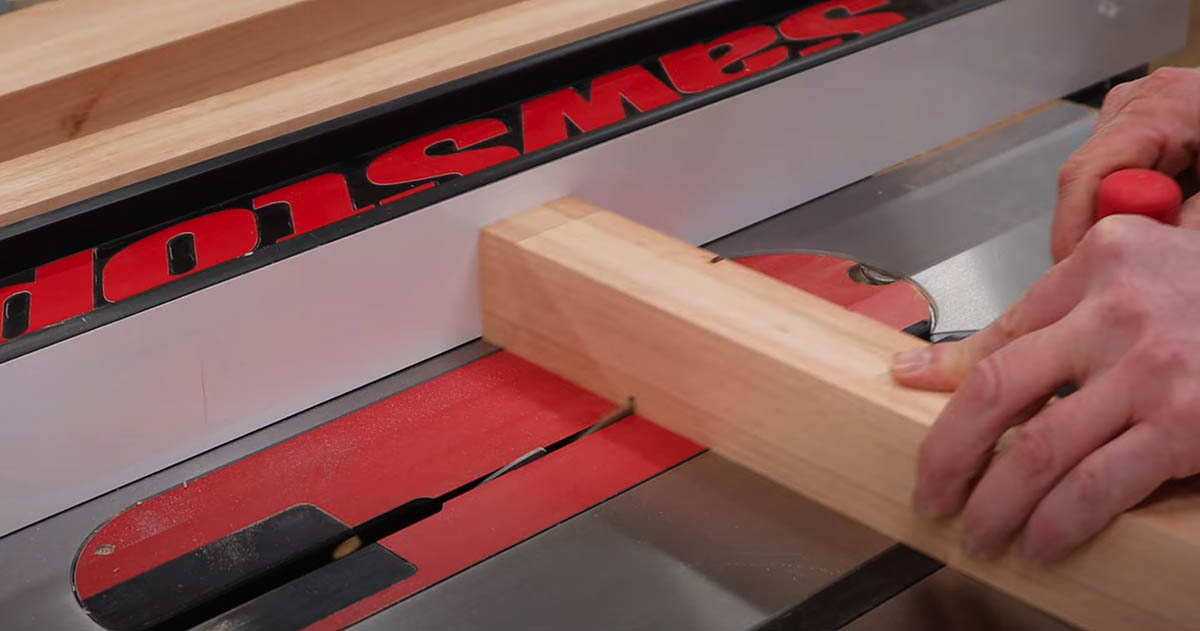
I’m using 8/4 Red Grandis wood for the legs. I’ll get started by rough cutting it to length at 21-3/4″. Then I’ll rip the legs at 1-7/8″ x 1-7/8″. I’ll cut a notch in the legs to eliminate any tear-out when I turn the legs on the lathe. Use the straight edge to find the center of the leg to mount it on the lathe. With all 4 legs turned on the lathe, I’ll cut the legs to 21-1/4″ and cut a 10 degree chamfer on the top of each leg.
With the legs made, I’ll get started on the sides of the planter, starting with the horizontal top and bottom boards. I’ll need (8) 3-1/2″ x 18-1/2″ pieces, (8) 5-1/2″ x 15-1/4″ pieces and (8) 3-1/2″ x 15-1/4″ piece, so I’ll set up a stop block on the mitre saw and make the cuts to length.
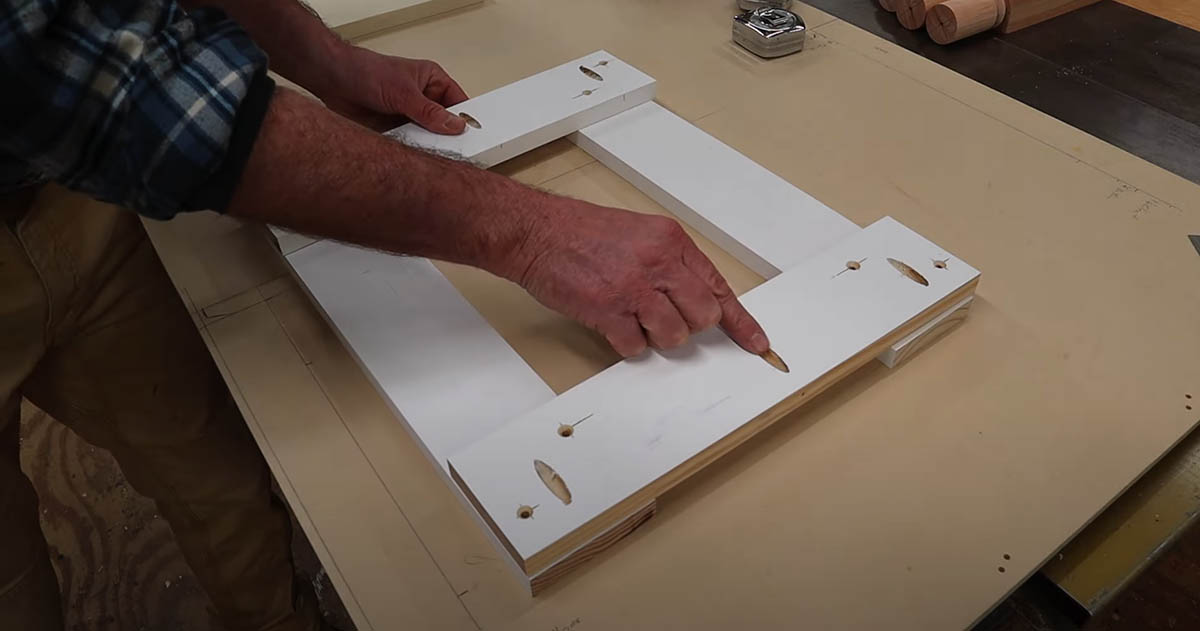
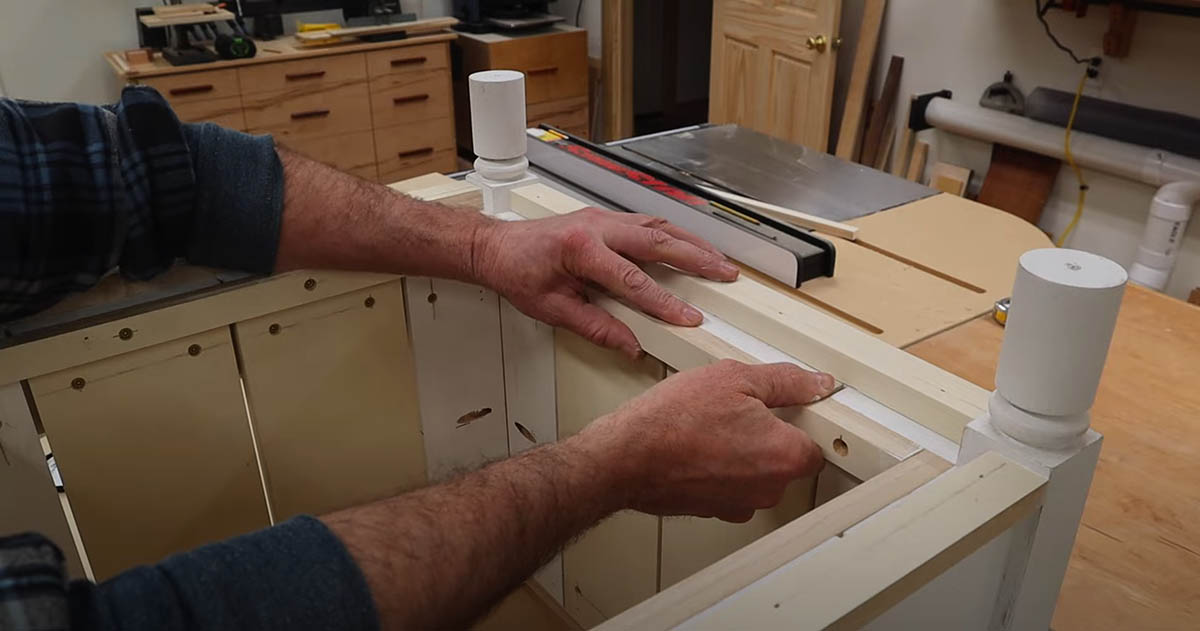
To assemble the sides of the planter, I’lll drill pocket holes so I can attach the sides to the legs using pocket hole screws, staggering the screws so they don’t run into one another.
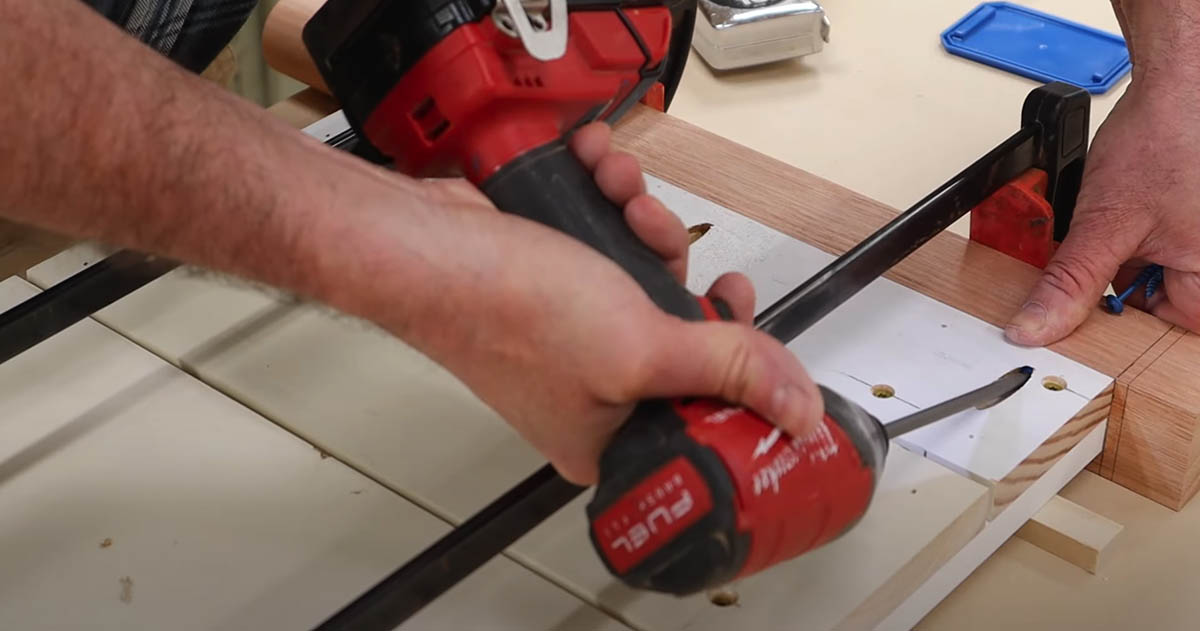
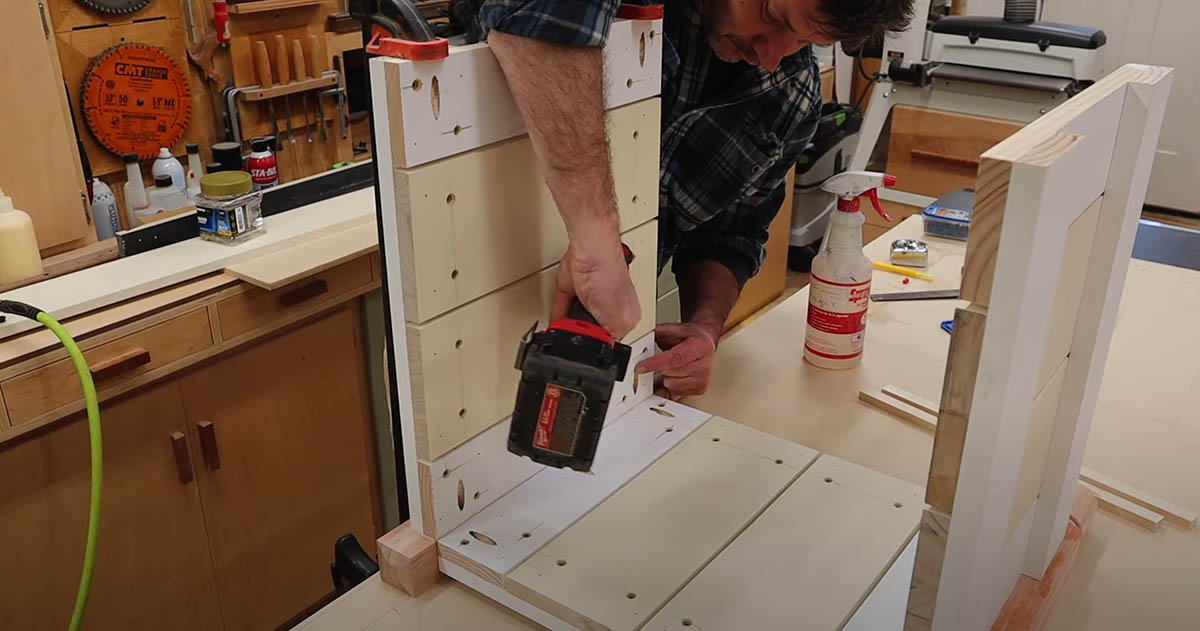
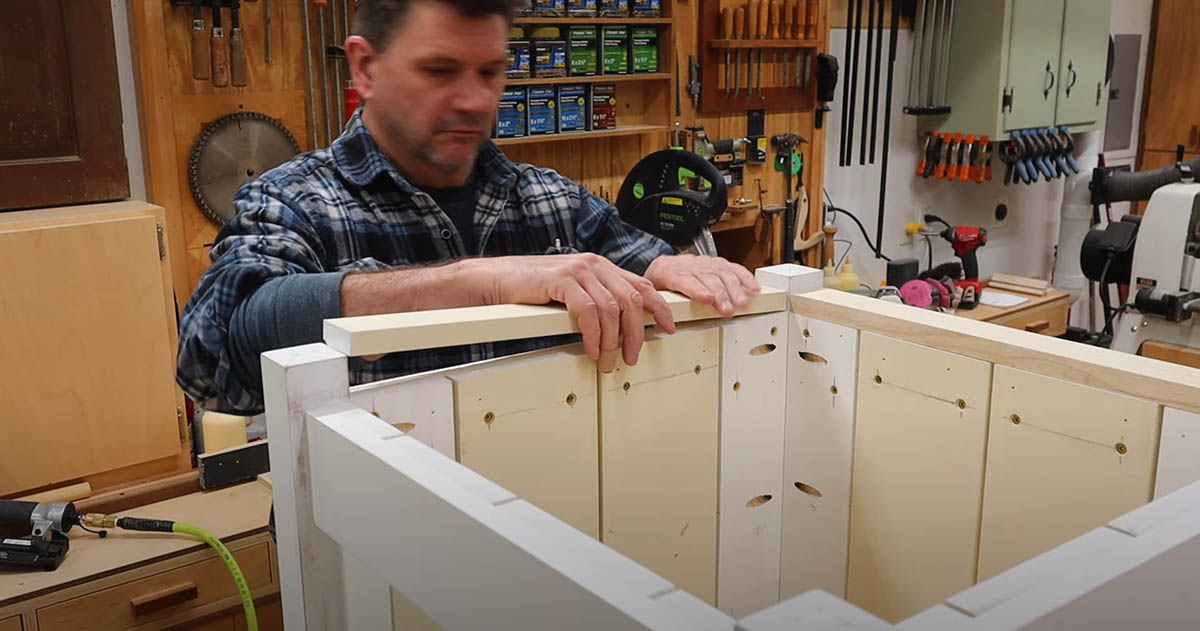
I’ll use 1/2″ shims to attach the legs to the planter. The shims help bring the sides of the planter flush with the legs. I’ll use wood glue to ensure a lasting attachment as the planter will hold some weight in the weather over time. Now I join the 2 sides together and complete the assembly of the box.
I brushed on a quick coat of primer and next, I’ll make a piece of moulding for the top and bottom. The top piece is ripped to 1-7/8″ and the bottom is ripped to 1-1/4″ and I’ll use a cove bit in the router to make the details int he moulding. Don’t forget to prime the end grain of the moulding pieces before attaching them to the box. Attach the top and bottom moulding pieces using the air nailer.
Now, I’ll need to a cleat to the bottom to support the bottom. Rip the cleats at 1″ and tack them into position flush with the vertical boards. Then use screws for final attachment for a stronger joint. For the bottom of the planter, I’m using 3 pieces of 1″ x 3/8″ cedar that lay in place on the cleats.
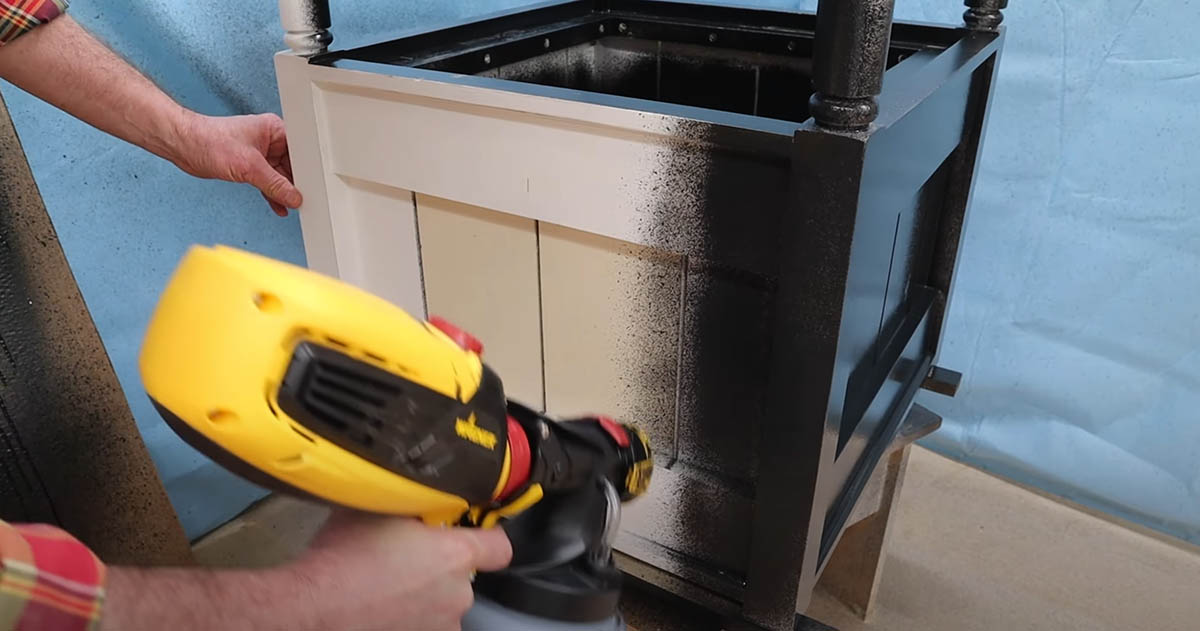
After some simple sanding, I’ll add a few coats of high gloss black paint. Be sure to choose whatever color matches your home or outdoor space.
Thanks for watching guys! I hope this simple project can dress up your patio or porch. See you next time!
![]() Thanks again to Jonathan Green for sponsoring this video! Jonathan Green Mag-I-Cal Plus and all their soil foods can be used in lawns, gardens, or planter beds like the one I made here today. The first 100 people who use coupon code “JONPETERS10″ will get 10% off their purchase of Mag-i-Cal Plus!
Thanks again to Jonathan Green for sponsoring this video! Jonathan Green Mag-I-Cal Plus and all their soil foods can be used in lawns, gardens, or planter beds like the one I made here today. The first 100 people who use coupon code “JONPETERS10″ will get 10% off their purchase of Mag-i-Cal Plus!